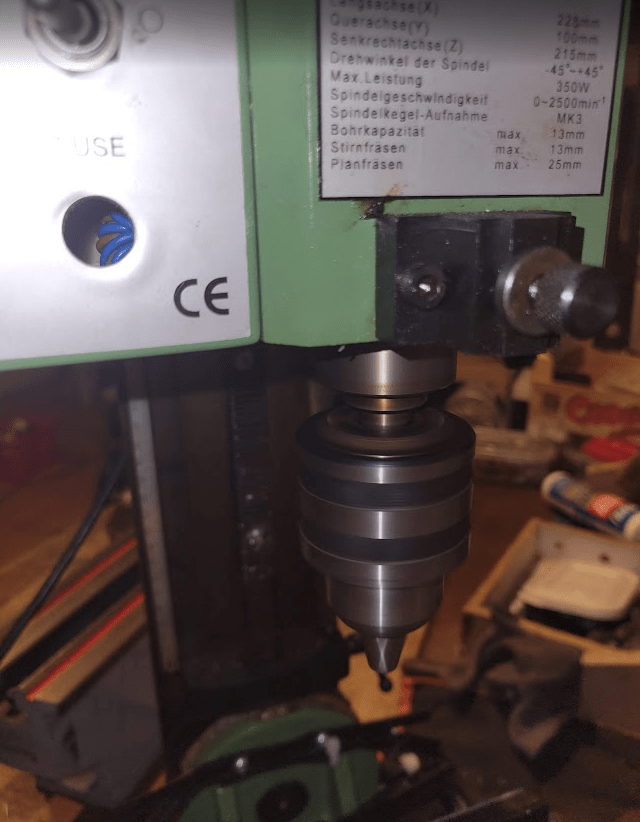
Picture this: you fire up your milling machine… with the spindle lock still in. Crunch. One gear down. What a fail. Replacement part? Out of stock, overpriced, or doesn’t even exist. Double fail.
But hey, if you’ve got a machine shop and a thirst for experience, there’s only one logical move: make the gear yourself.
Measurements
First things first, I had to take some measurements. I measured the height, the width, the height of the part with teeth and without teeth… You get the idea.
There are two approaches here:
- Analytical method: measure involute curves, apply gear equations, reconstruct the profile mathematically.
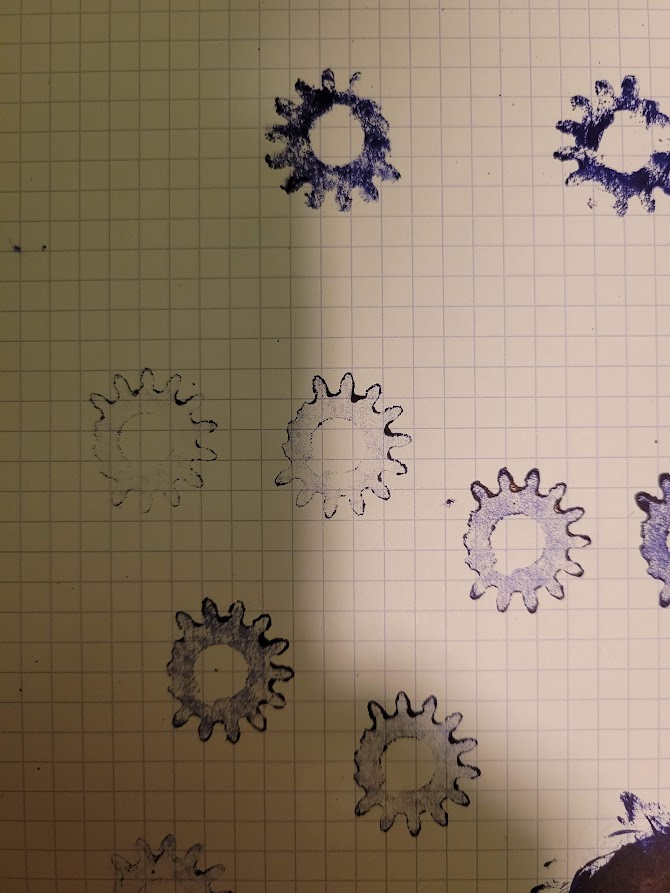
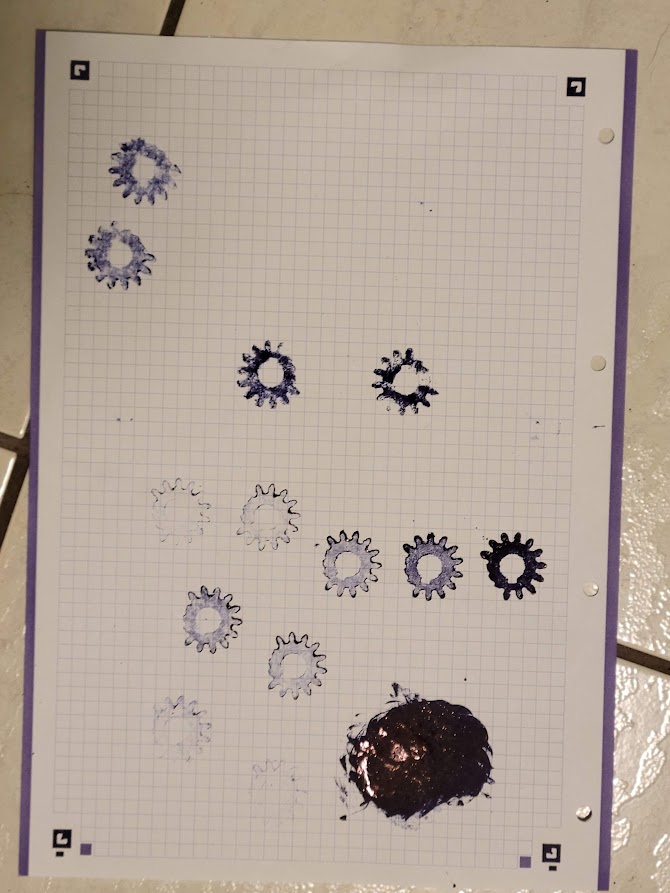
- Practical method: coat the gear in ink, stamp it on graph paper like a DIY forensic lab, and digitize the best imprint.
I chose the latter. Sometimes kindergarten-level arts and crafts is the most efficient engineering tool.
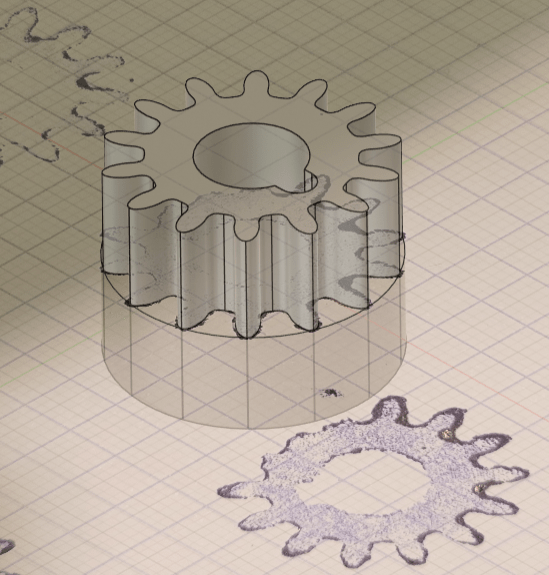
The CAD/CAM design
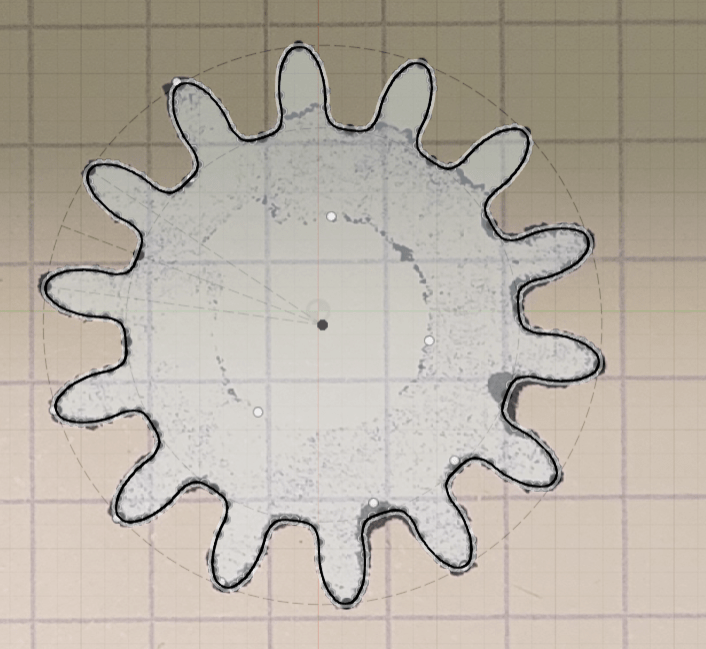
Fusion 360 was the obvious choice – accessible, parametric, and hobbyist-friendly. I imported the stamped profile, scaled it using the graph paper grid as reference, and traced the tooth geometry. The rest of the model (hub, bore, keyway) was dimensioned directly from caliper measurements.
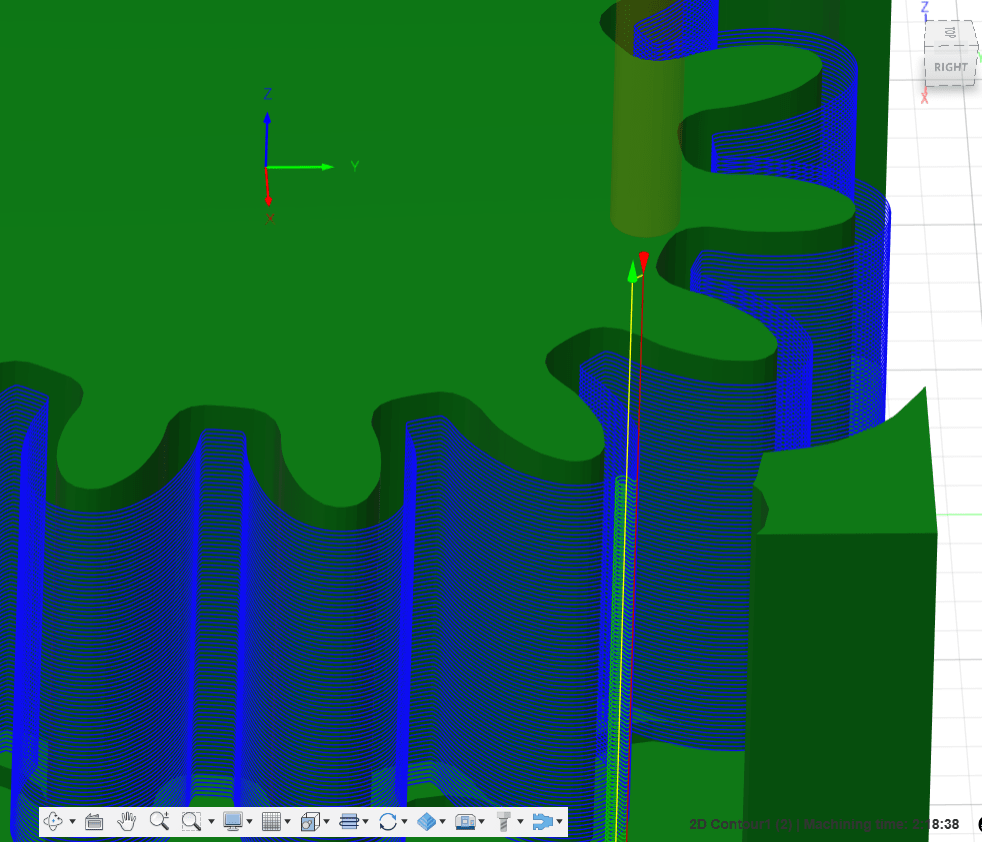
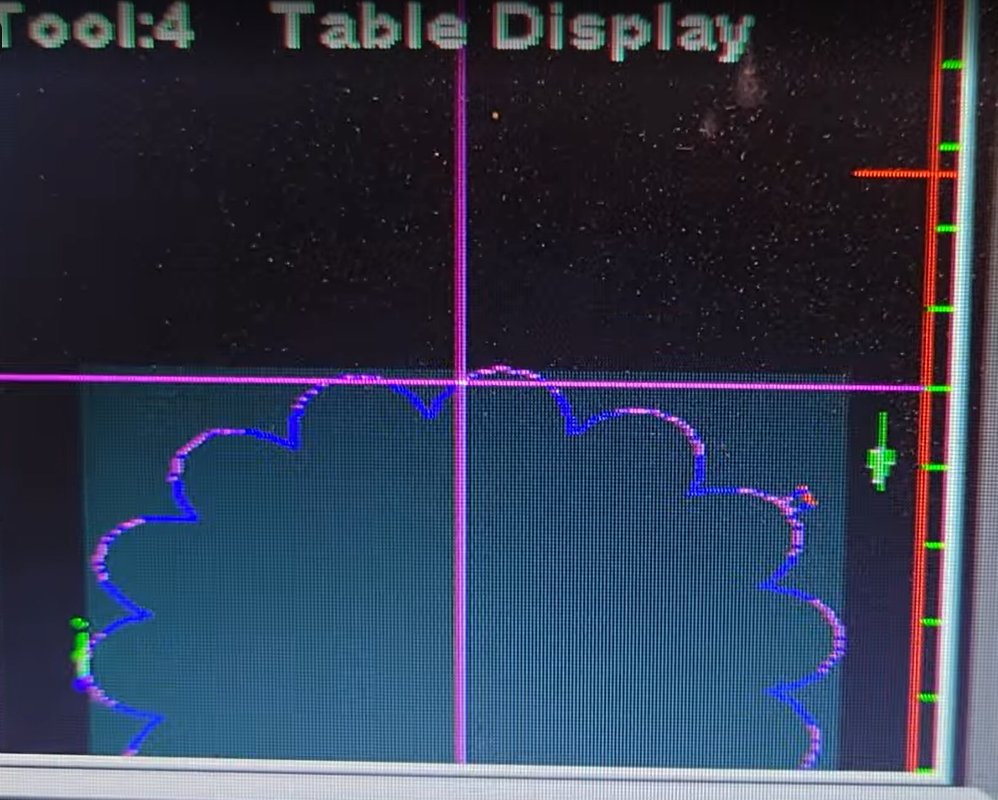
Generated G-code for my CNC router – yes, the one designed for wood. With a 1.4 mm corn endmill and conservative feeds, it became a very confused aluminum mill. Estimated runtime: 2.5 hours cutting, 0.5 hours setup, infinite hours of me staring at the machine.
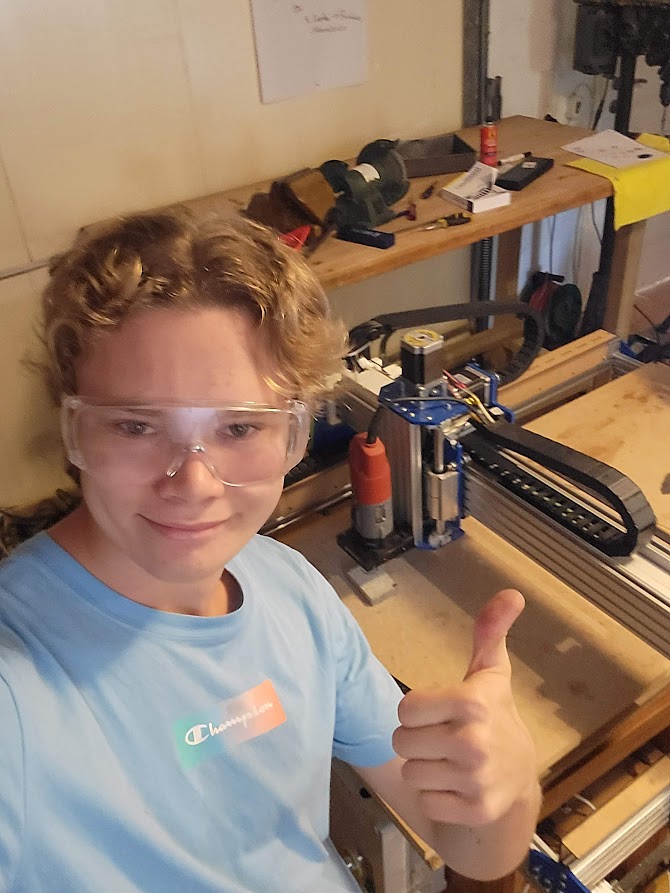
The milling process
Expected: glorious aluminum chips flying like metallic confetti.
Reality: fine aluminum dust coating everything, including my lungs (probably). But hey, material was removed, and that’s what counts in subtractive manufacturing.

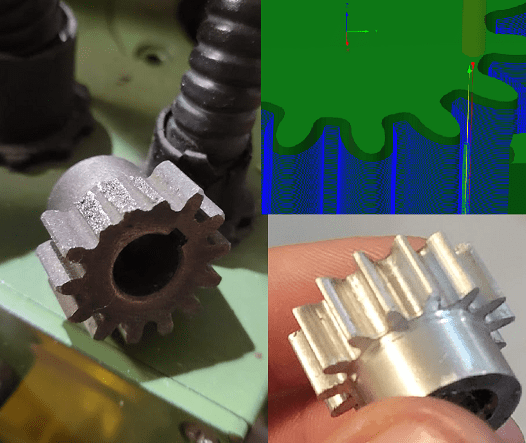
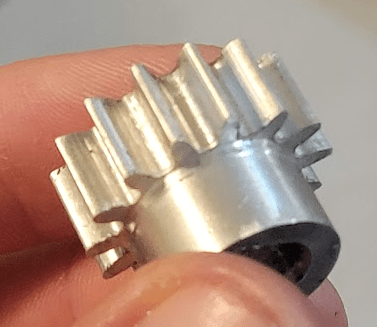
I filed burrs, turned the hub on my lathe, the gear turned out looking like this:
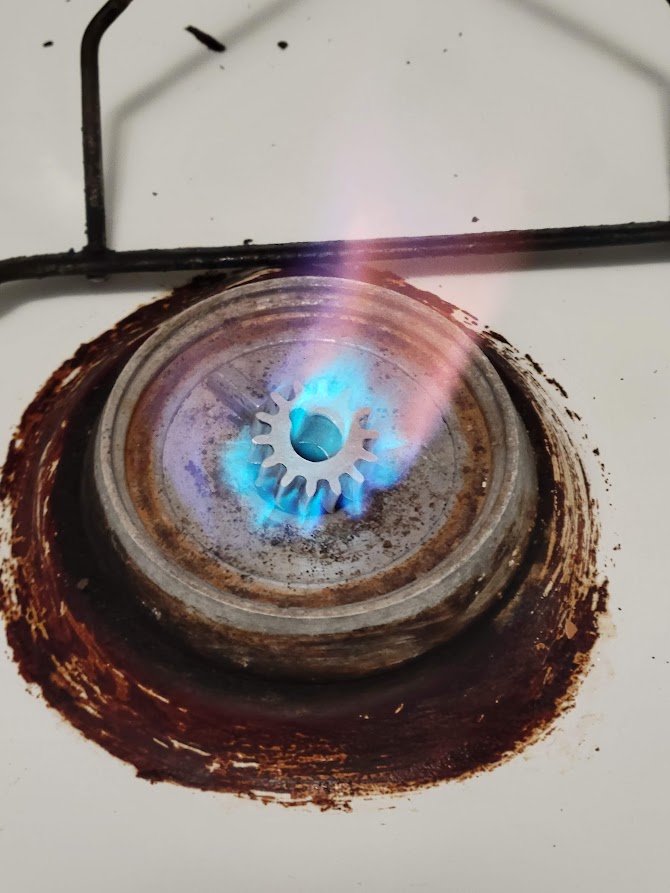
Then came the interference fit. Applied the classic “kitchen stove heat treatment” (don’t tell OSHA), pressed it onto the shaft, and physics did the rest. (Near) zero backlash, infinite pride.
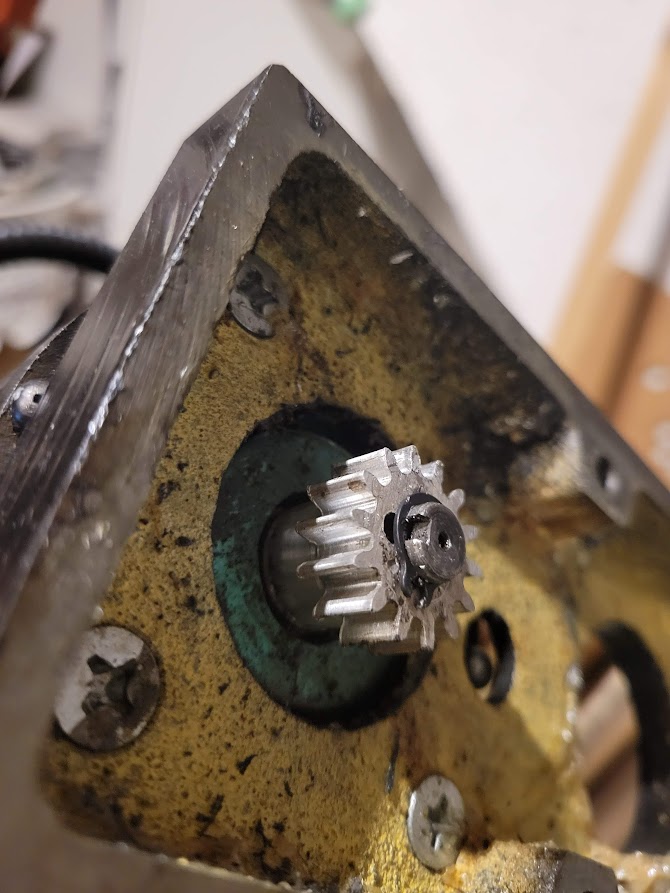
The milling machine is operational again. Did I spend an entire day to avoid spending 30 euros? Yes. Was it worth it? Absolutely. Beyond the cost savings, I gained practical experience in reverse engineering, CAD/CAM workflow, and adaptive machining. Plus, there’s a certain satisfaction in knowing that when a part fails, I can fabricate a replacement instead of waiting weeks for shipping.

Leave a comment