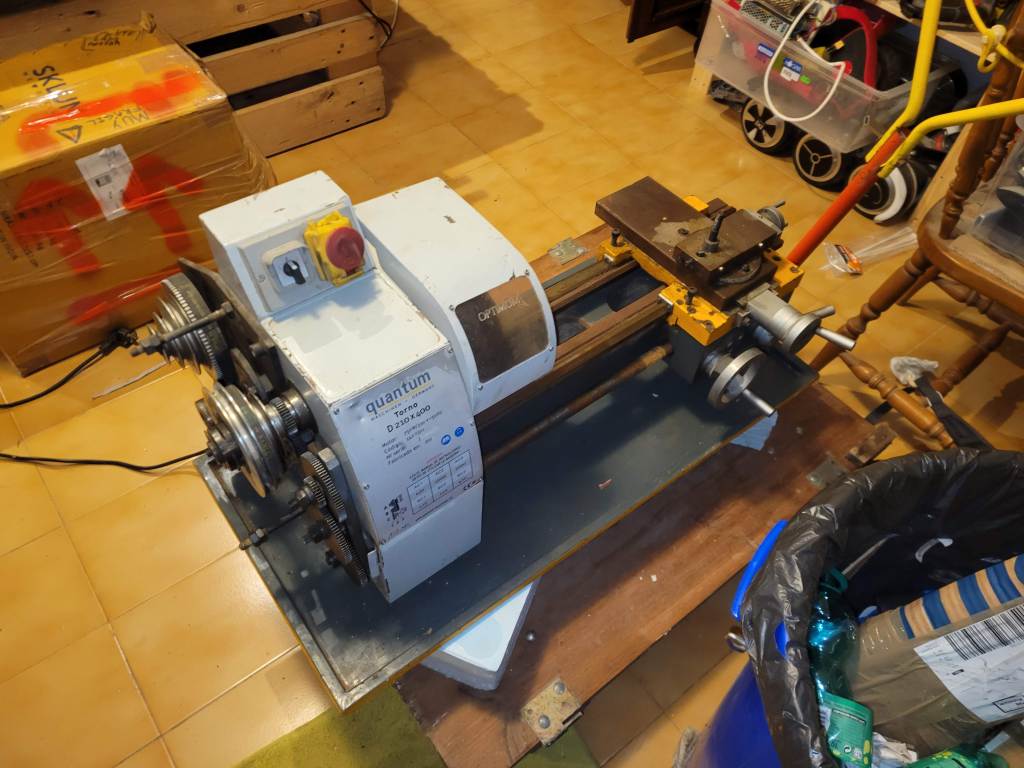
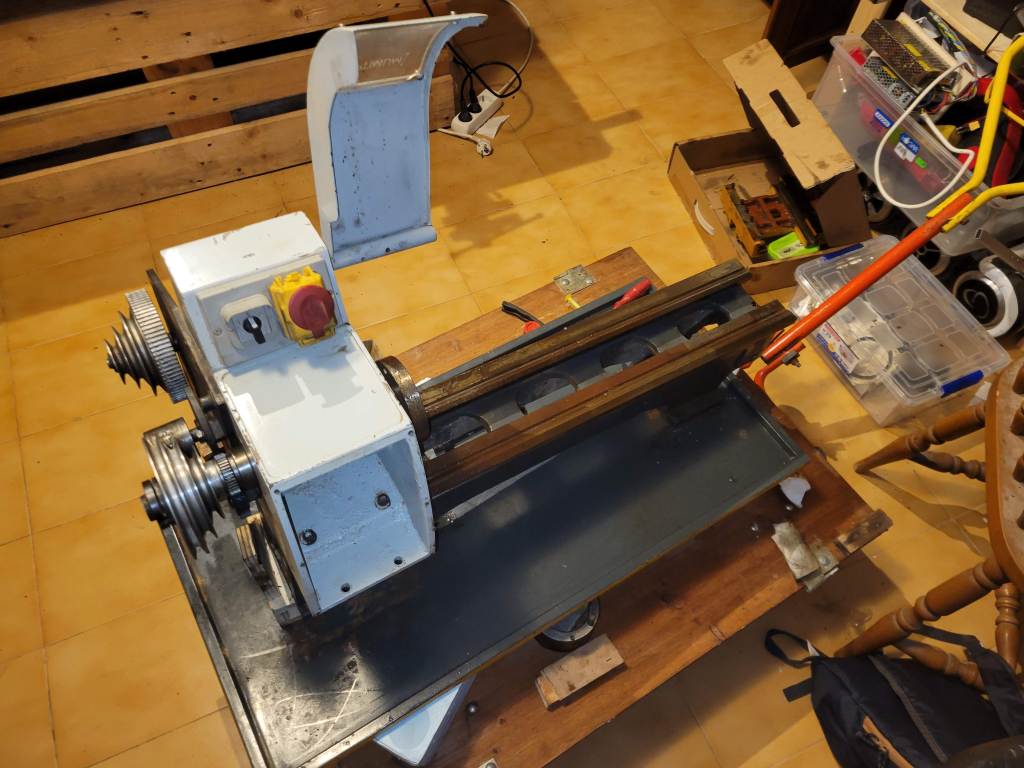
I had wanted a lathe for a long time. Problem? The decent ones start from 2000€ and even then they sometimes need post factory “refinement”. So I couldn’t believe my luck when I found a this hunk of junk on Wallapop (local Craigslist) for 1800€. I laughed and offered 400€. The dude accepted. I bought the lathe for 350€ and gave his kid my old PC.
A quick recap on mini lathes
This explains why this lathe was so good, despite it being covered with a thick layer of rust.
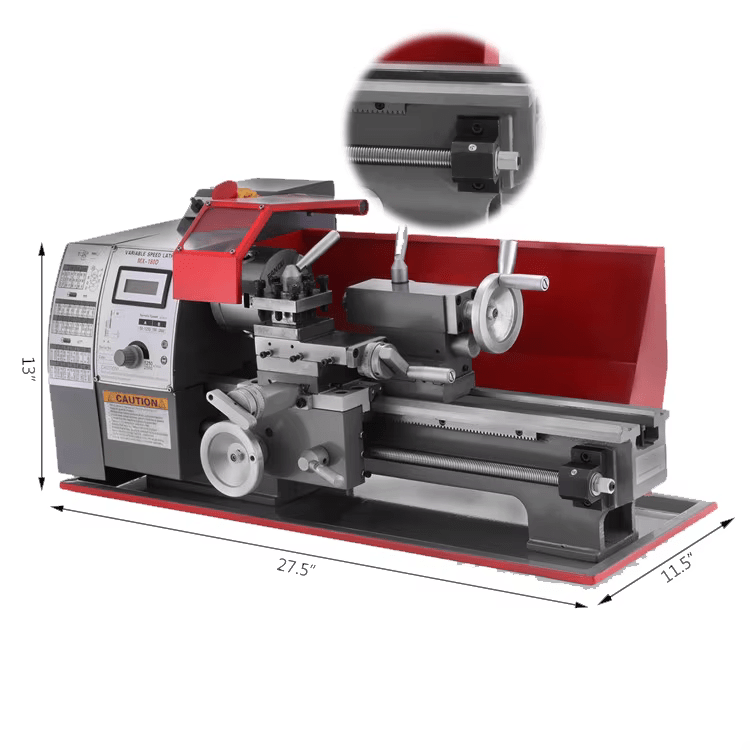
Option 1. SIEG:
Identifiable by the bed with only one prismatic rail. Lacks oilers. Generally uses low quality radial bearings in the headstock. Flimsy plastic knobs on some models. Gears are also usually plastic on the cheapest models.
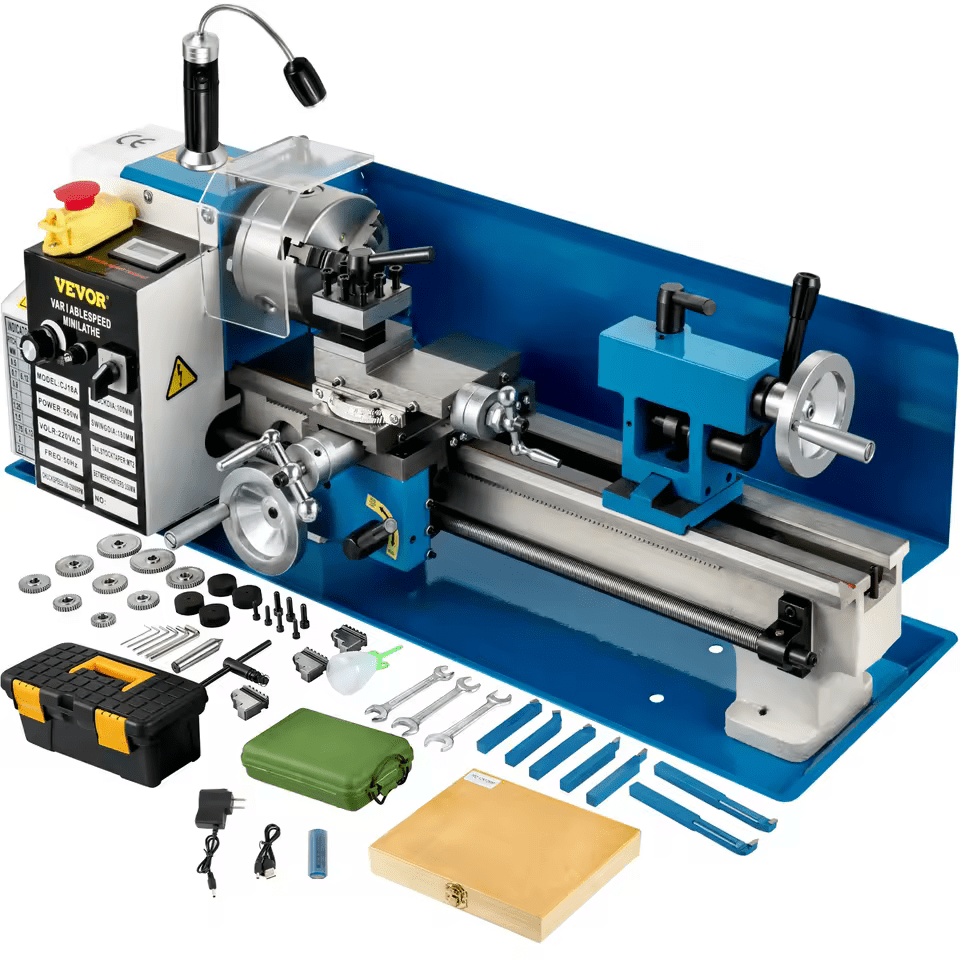
Option 2. WEISS:
Different bed with two prismatic rails: one for tailstock and one for carriage. Usually comes with metal gears, better quality knobs and overall feels more sturdy. Weighs more too.
Option 2.5: Premium WEISS

Premium brands (Quantum, OPTIMUM, e.t.c.) buy from Weiss but hold a quality standard, they reject bad castings or poorly ground ways. By buying this quantum lathe, I’m not just buying a project lathe from china, I’m buying a machine that had been guaranteed to work perfectly and conforms to a standard. In my opinion, that’s the quickest way to avoid headaches with chinese “engineering deficiencies”.
Back to my lathe
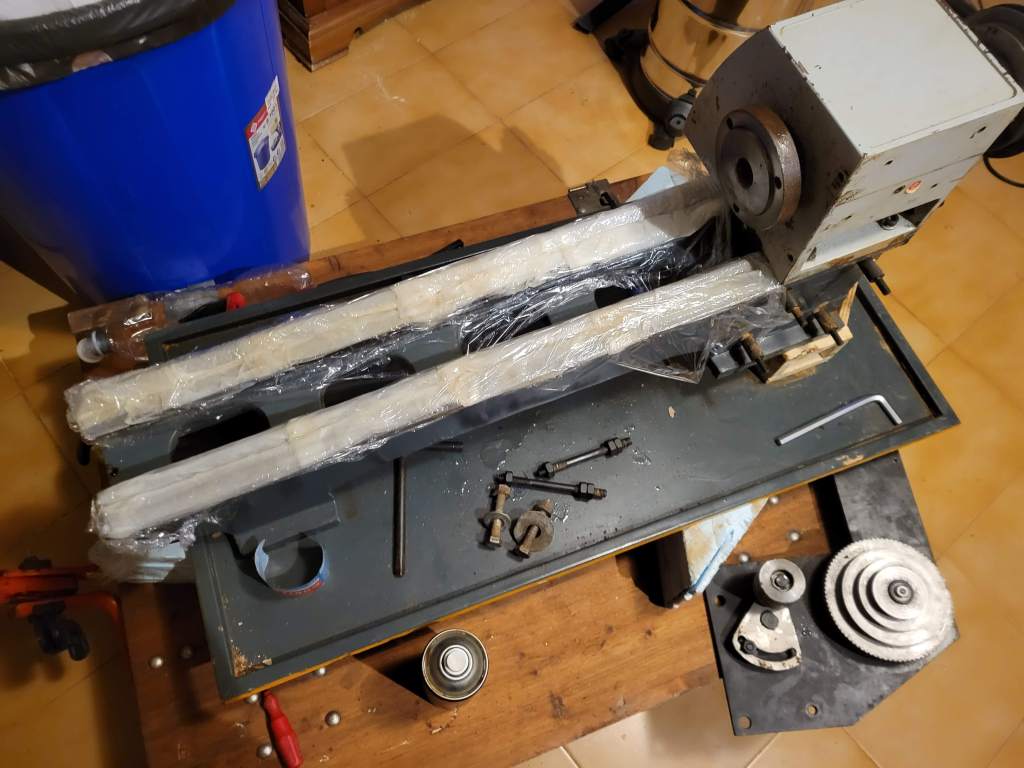
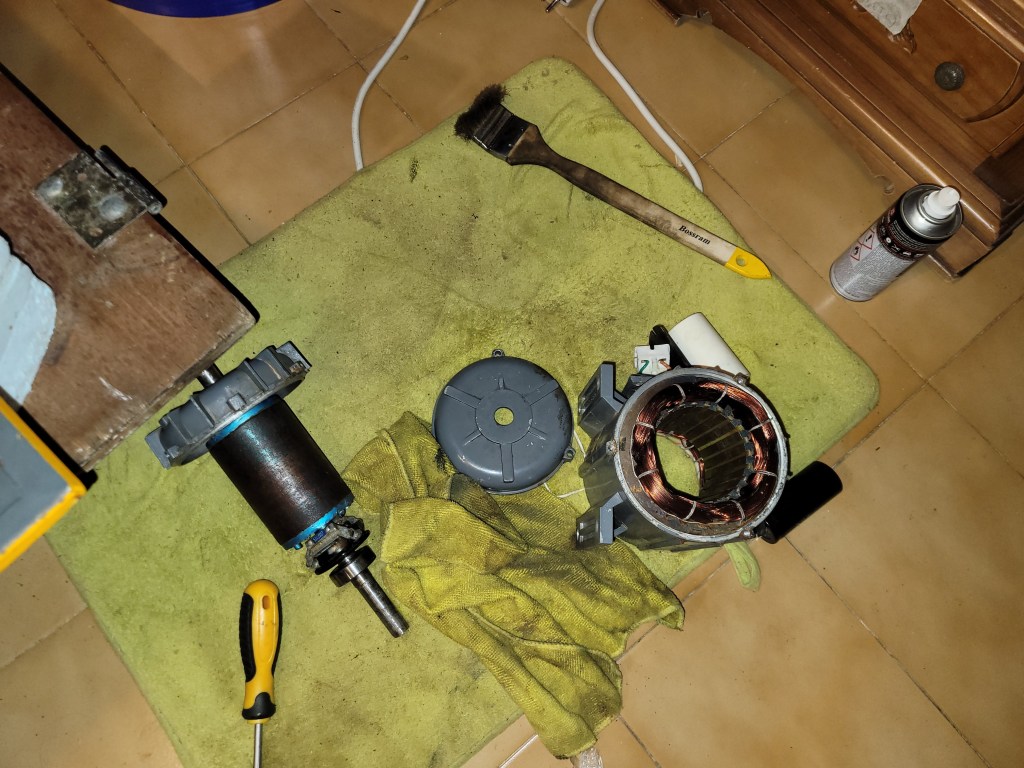
So, what did I do? First, I unmounted EVERYTHING. And I literally mean everything: when a lathe is submerged in a water and dirt suspension, the dirt remains in every single corner, even inside the power switch. Let alone bearings.
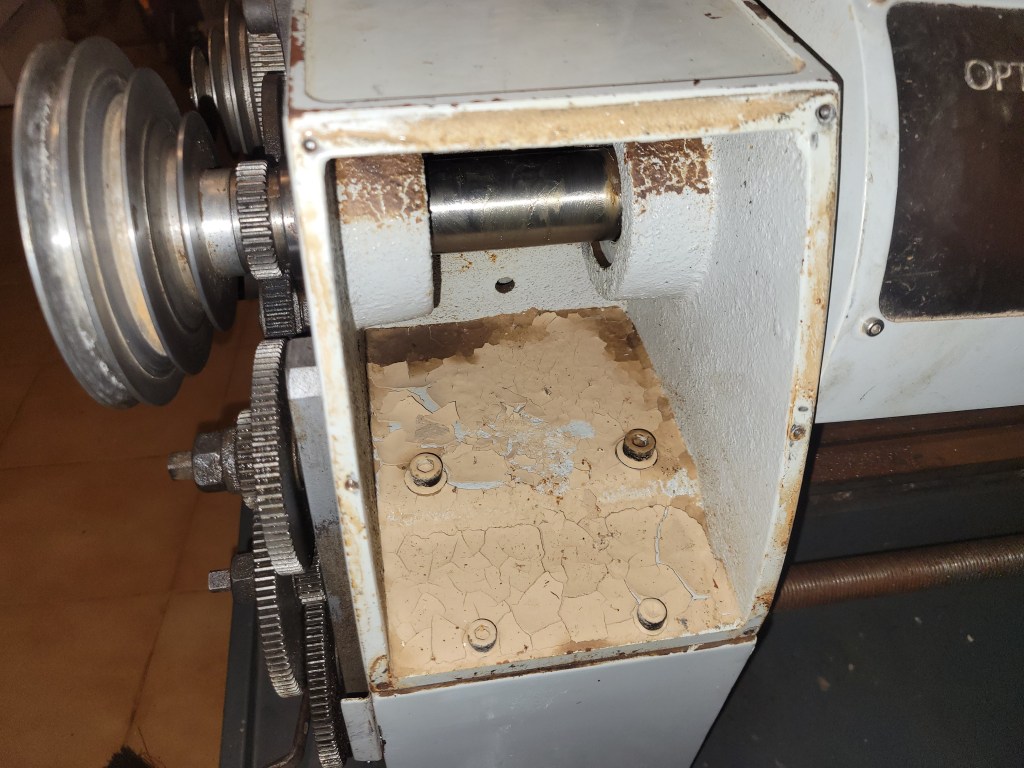

Then, I started testing different methods for rust removal. I tried white vinegar, it worked pretty well. I also tried EvapoRust. The results were pretty similar. However, I opted for EvapoRust as I didn’t want the acid to affect the precision ground lathe ways.
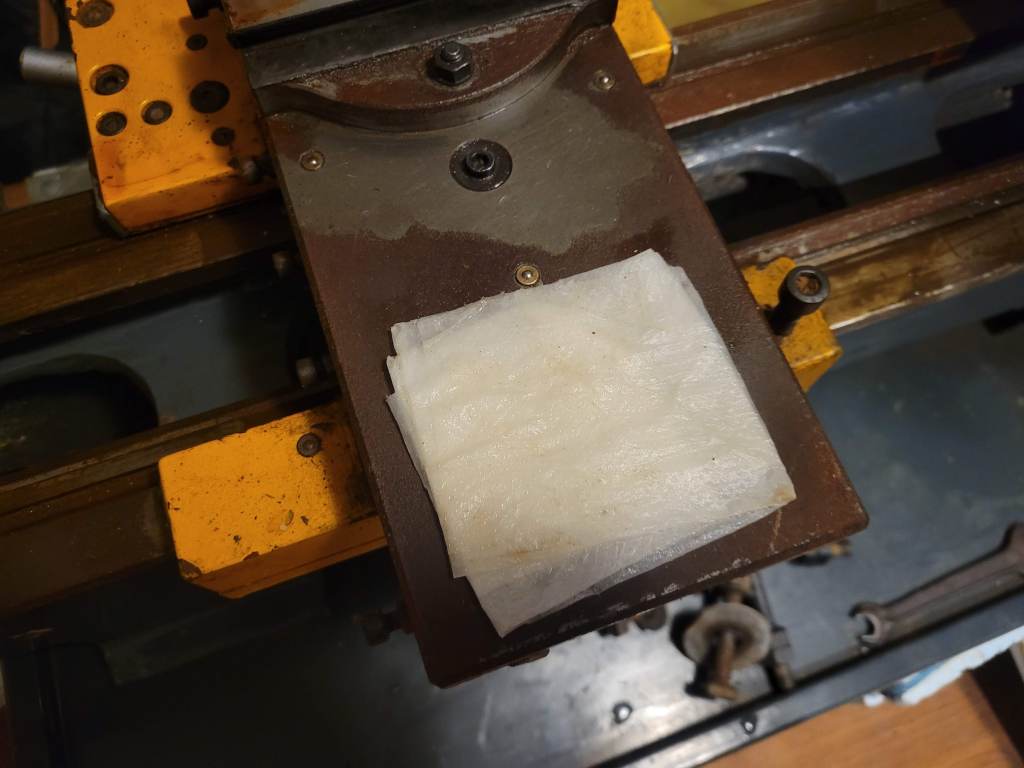
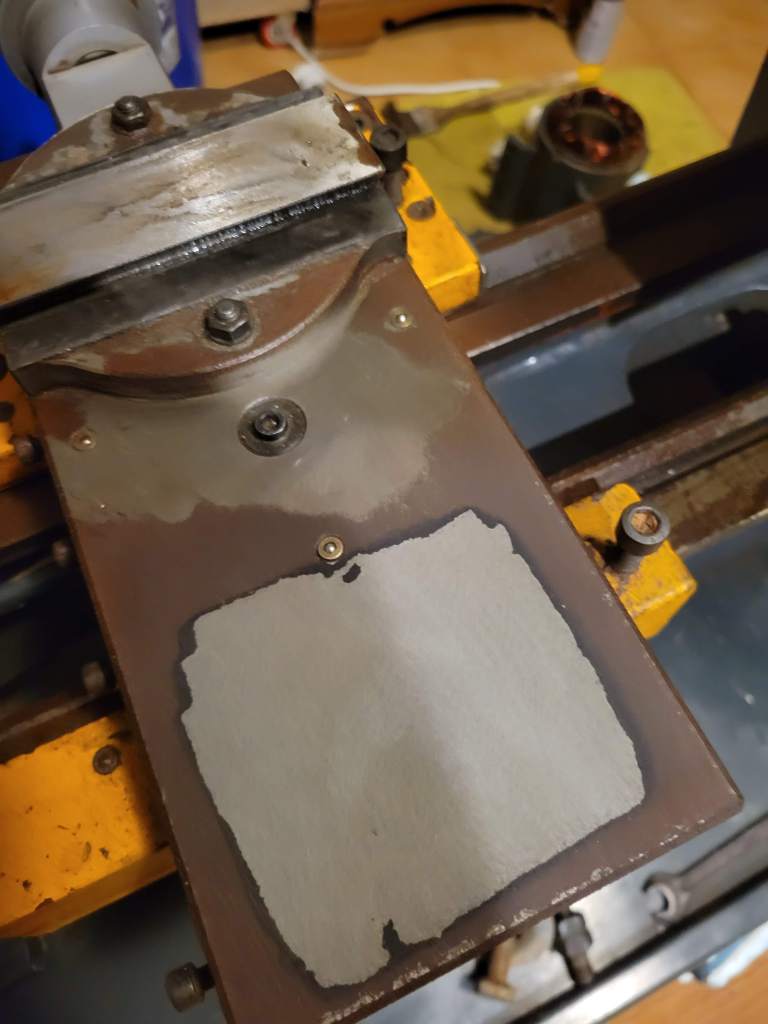
I repeated the process for every rusted part. I put a damp paper cloth impregnated with EvapoRust on every surface and then waited for 24 hours. After removing the towels and cleaning everything with Scotch-Brite, the results looked very promising.
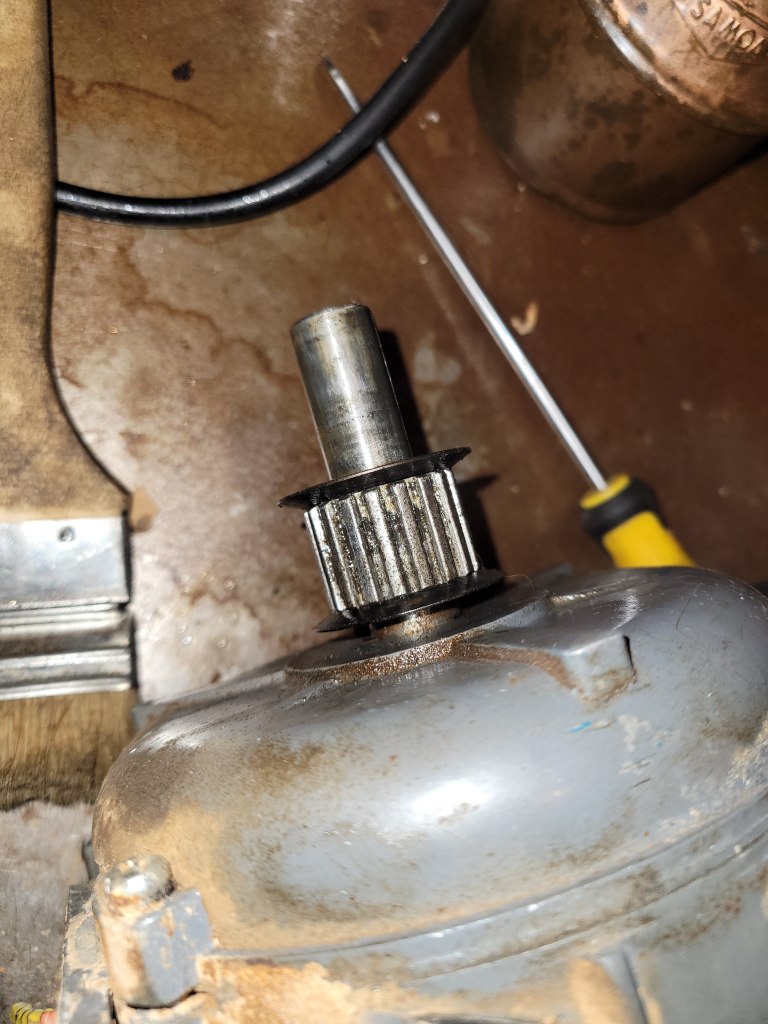
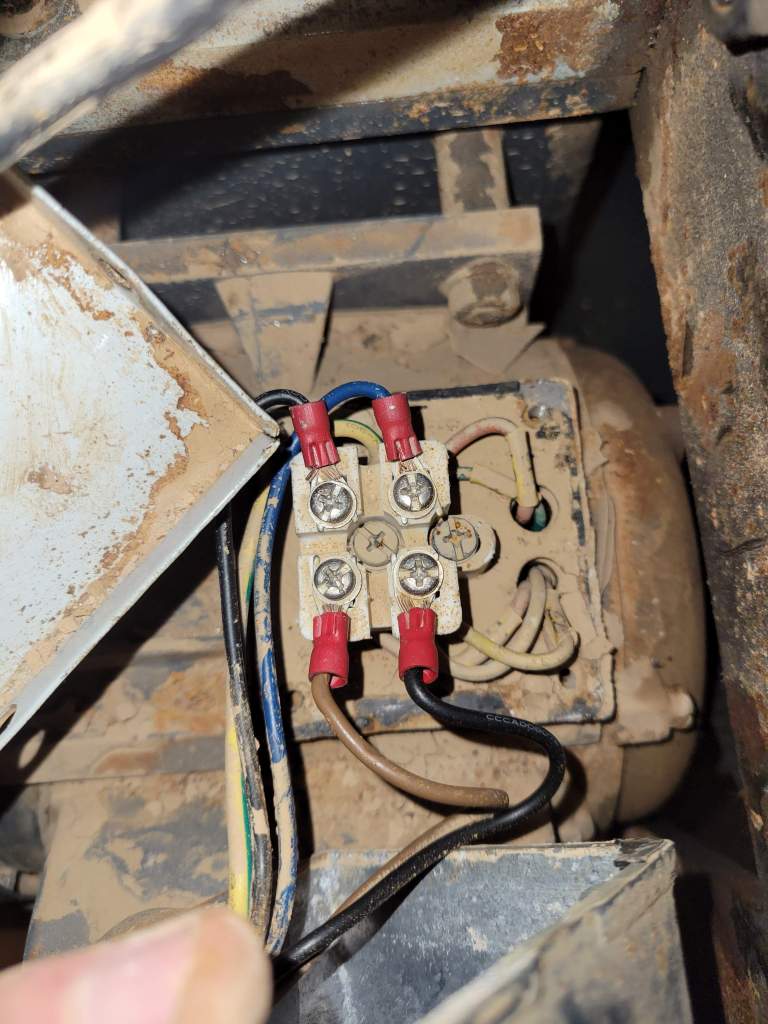
Then I cleaned the motor. I just took it to the bathtub and washed all the dirt out with warm water. Then, WD40 on all wet parts, regrease the bearings and it was ready for reassembly.
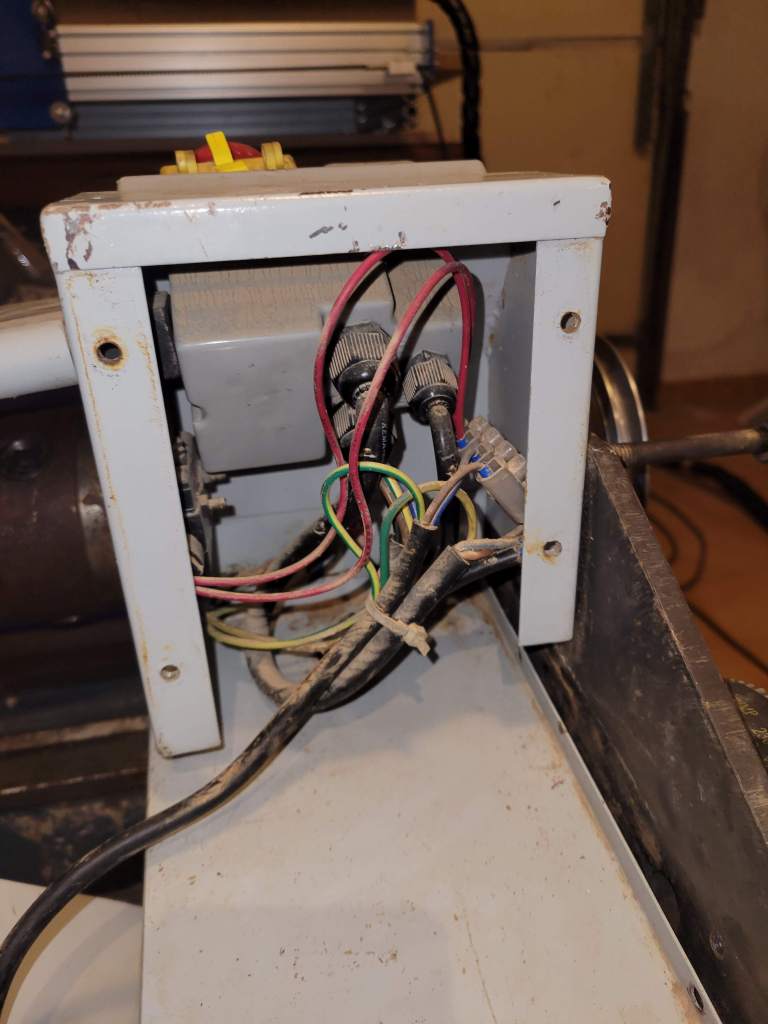
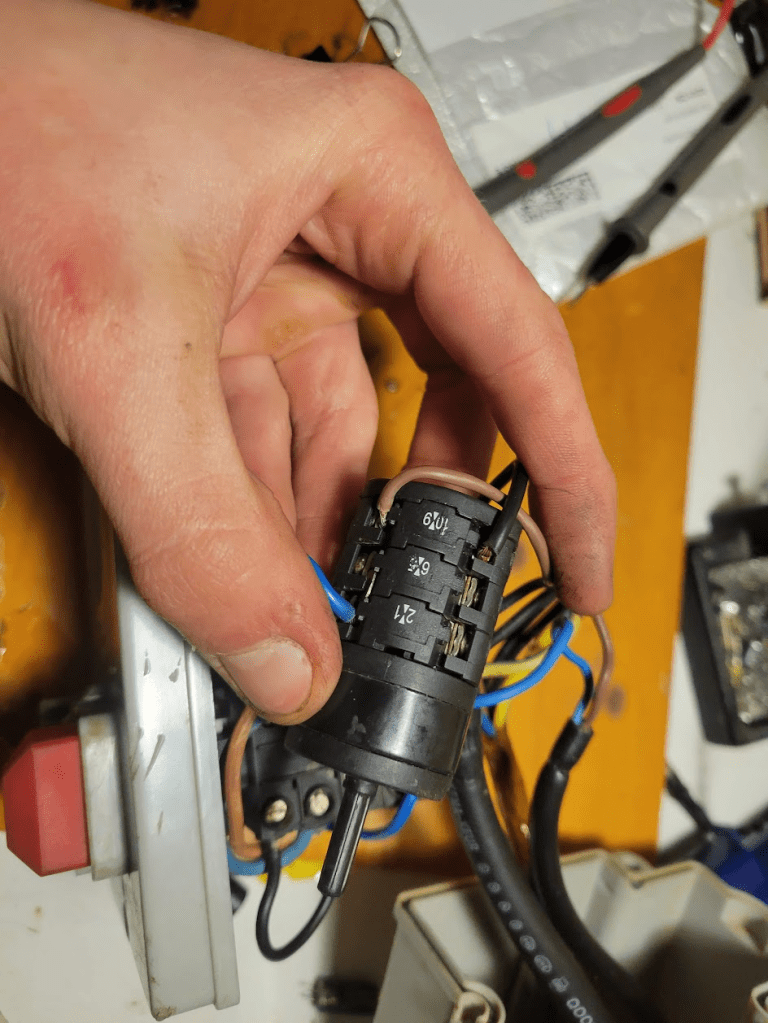
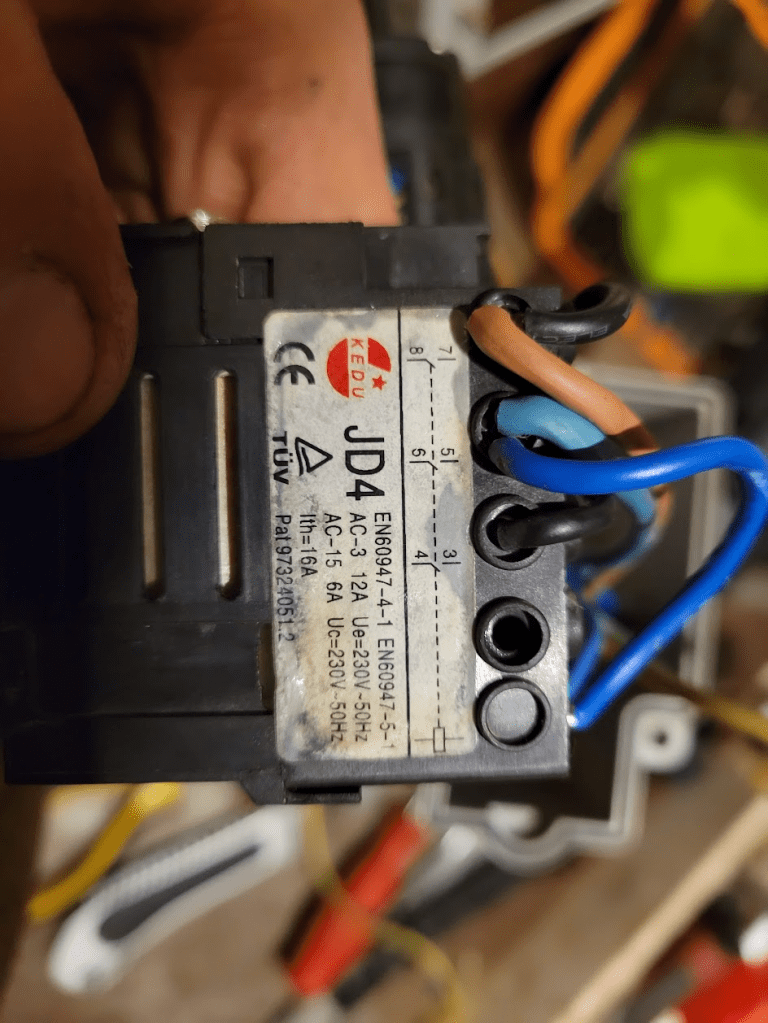
Rewiring everything was a real pain in the ass, especially the 12 terminal switch that reverses the motor. As soon as you take it apart (the switch itself, to clean the contacts) the difficulty grows exponentially.
I cleaned the chuck and the tailstock just the exact same way.
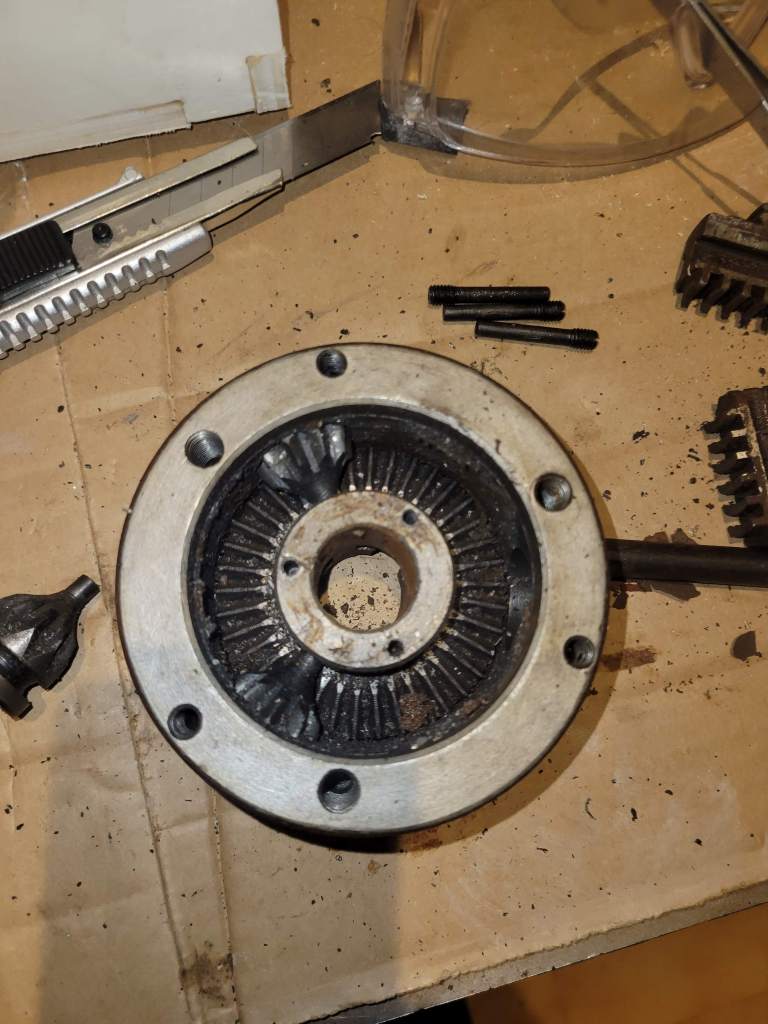
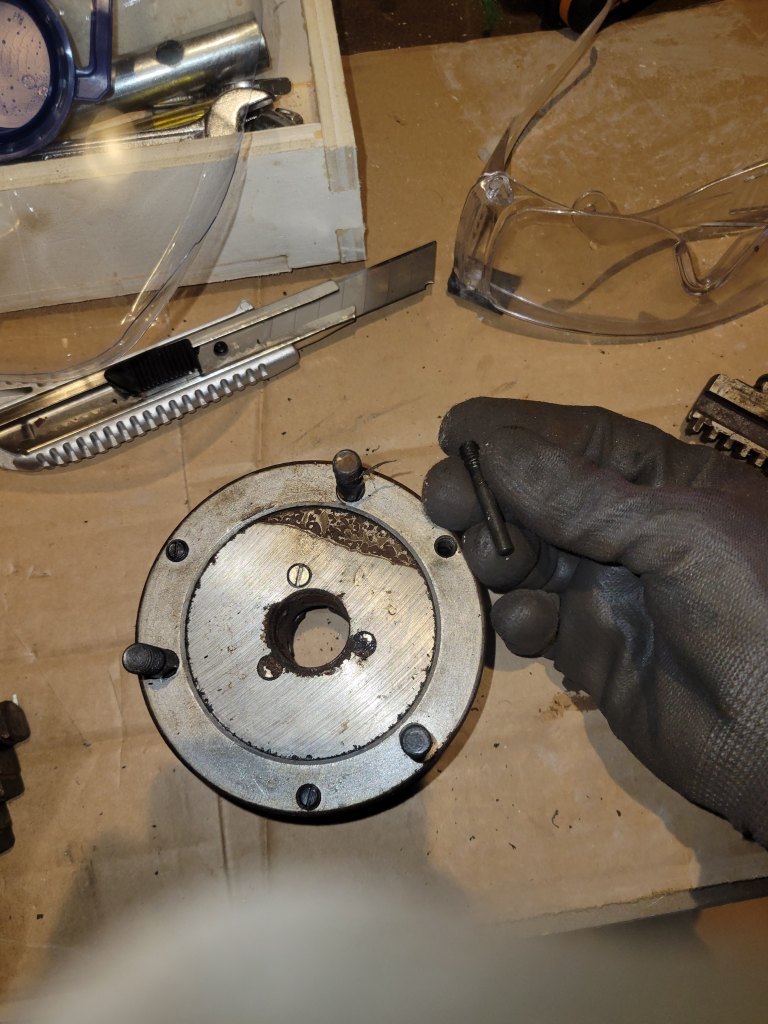
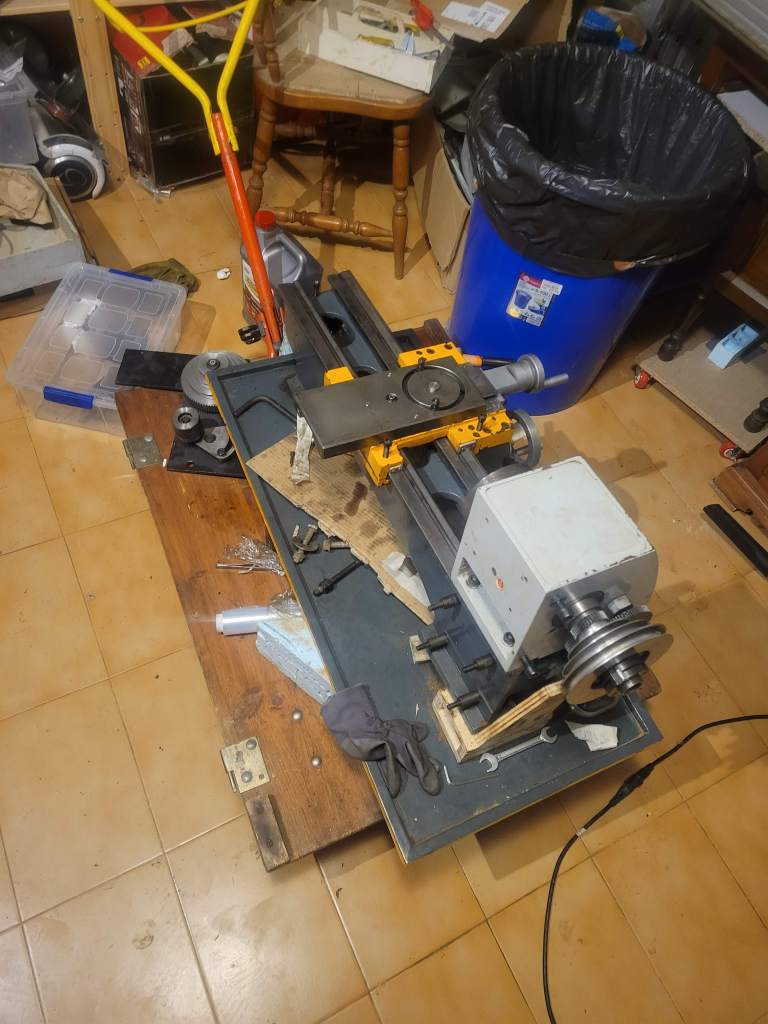
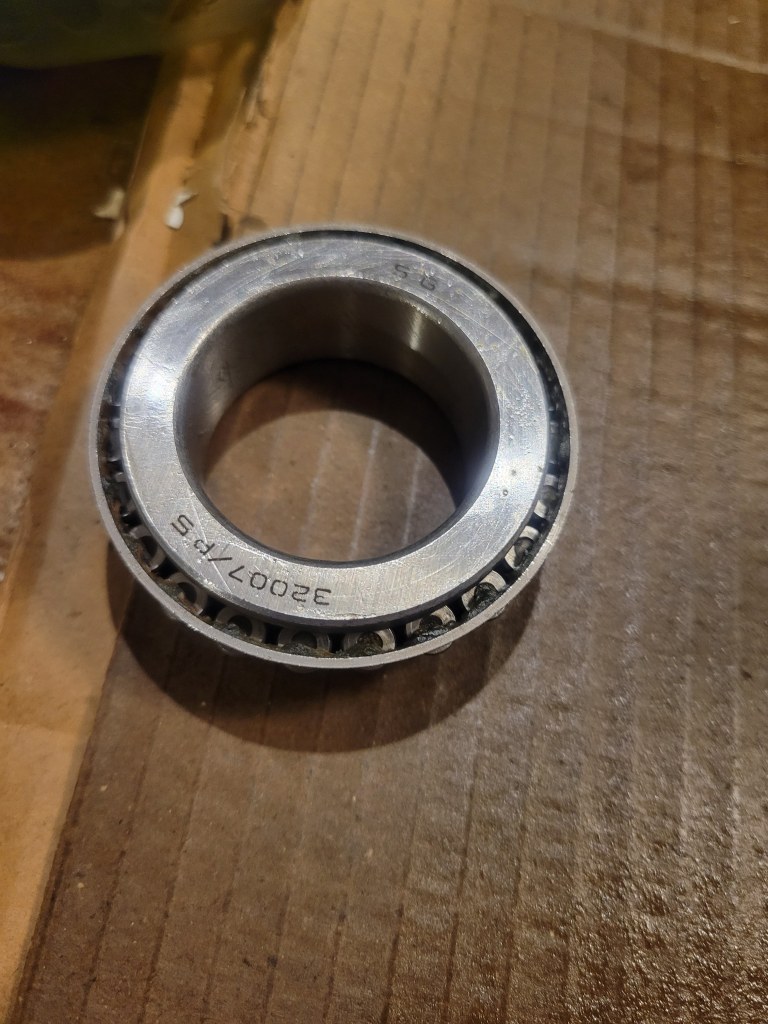
I checked and regreased the spindle bearings, then put the spindle back in.
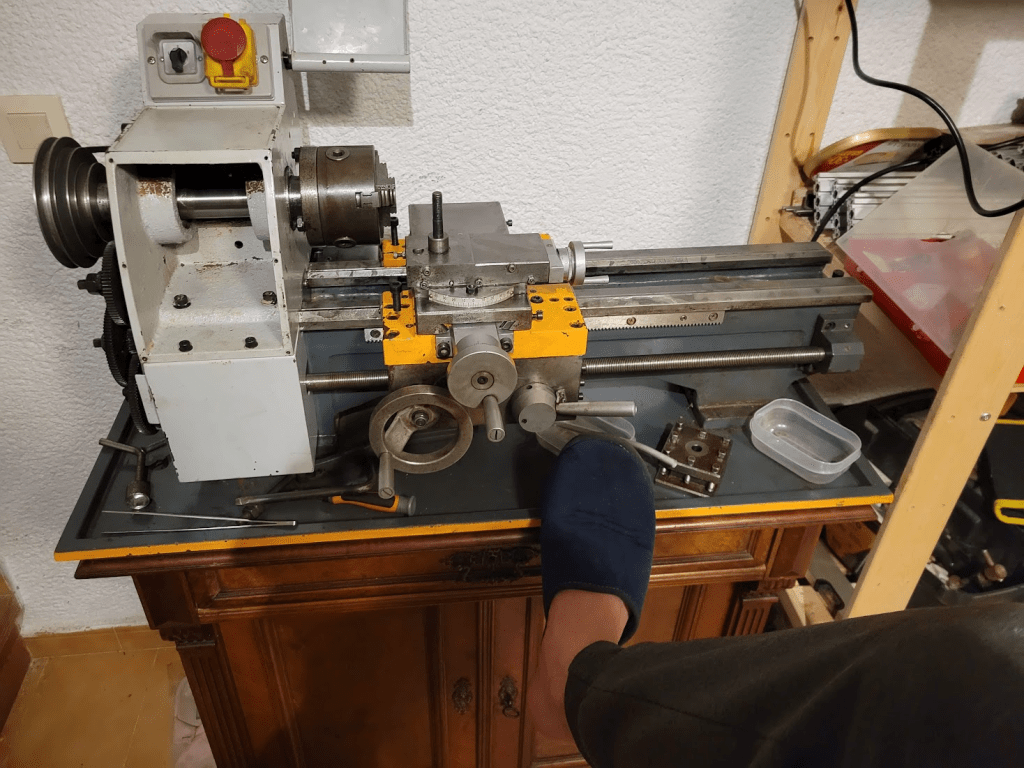
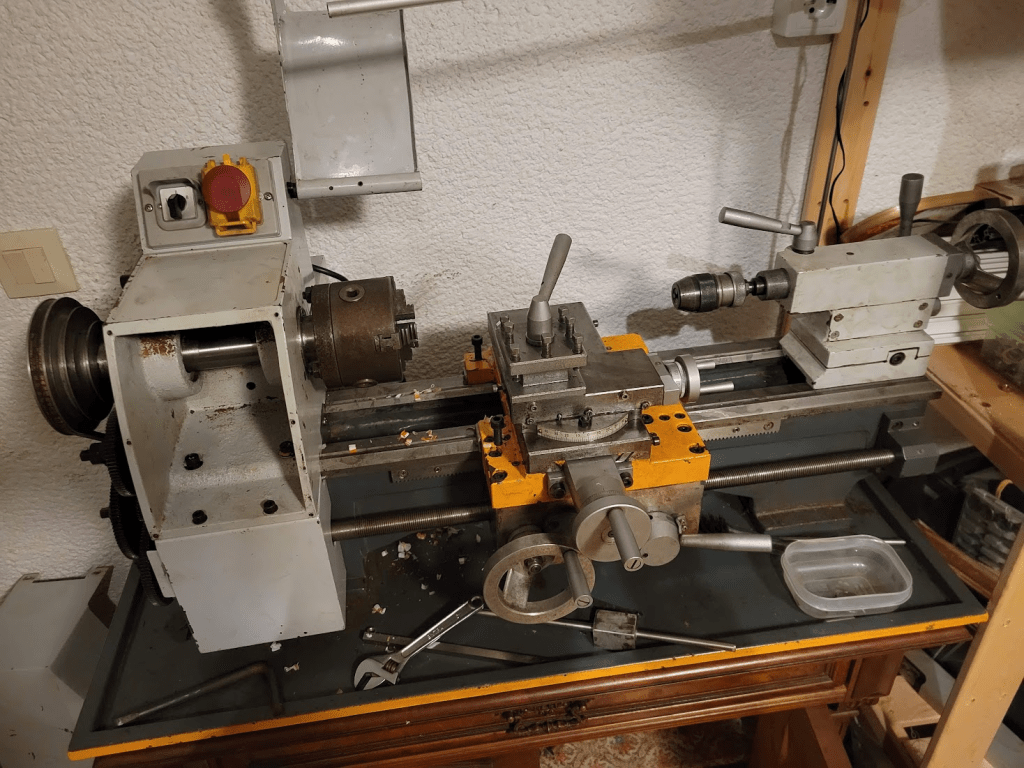
The lathe was ready to turn the first parts!
Closing thoughts
Is the bed lightly pitted from the rust? Maybe. Are the spindle bearing due for replacement? Likely, yes. But I did learn a lot from this project. From wiring up an industrial IEC71 motor to disassembling a headstock and tailstock, this was the best way to be introduced into the metalworking hobby. I am not afraid to take my lathe apart, and if I break it, well 350€ is just 350€ (and it’s unlikely I do that much harm). This is the maker’s way. Have fun with your equipment.

Leave a comment