What DIYer hasn’t at least once thought about getting a CNC router? The idea of a jigsaw mounted on metal rails sounds pretty tempting – especially when you need to cut out a bunch of plywood parts with tight tolerances.
In this post, I’ll share my journey into the CNC world. It all started with a second-hand DIY machine, followed by plenty of mistakes, broken tools, terrifying noises, and even a bit of smoke. I began with a modest 30×40 cm machine and eventually rebuilt it into a 60×80 cm behemoth. Come along for the ride.
HOW IT ALL STARTED:

After failing to cut precise parts with a jigsaw, I started looking into CNC routers. In January 2024, I found the cheapest local option on Craigslist and decided to give it a shot. Little did I know, I was about to tumble down a rabbit hole.
FIRST IMPRESSIONS:
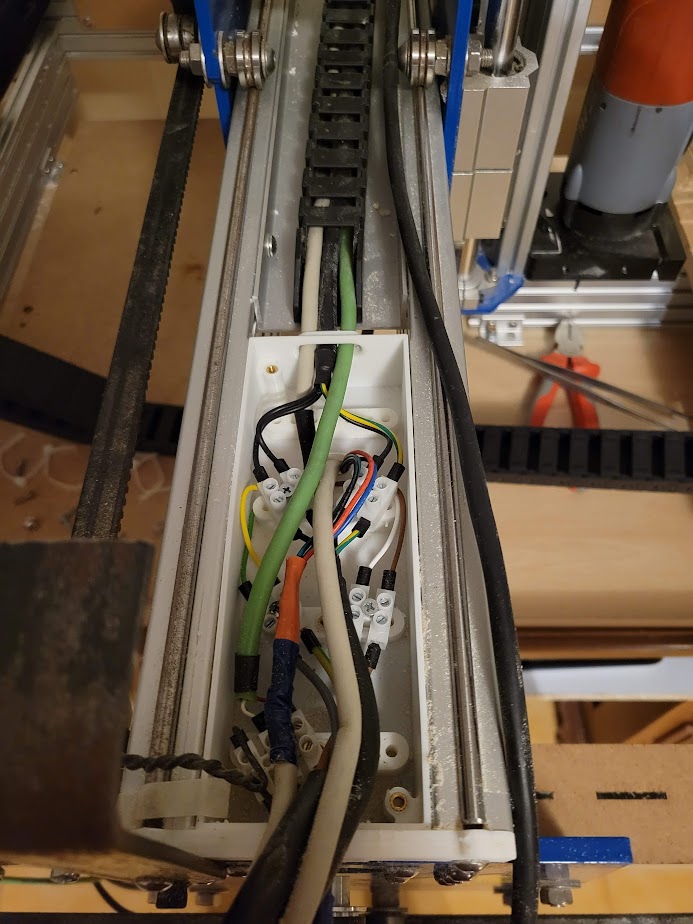
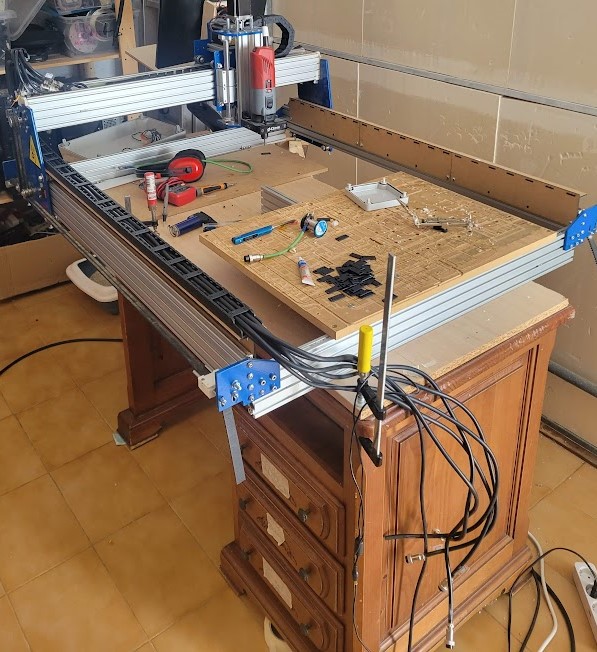
What I got was a heavy but poorly engineered machine. The first issue was the wiring – it looked like a pile of tangled noodles. Rewiring and organizing everything was absolutely necessary.

I tore it apart and rewired it as best I could.

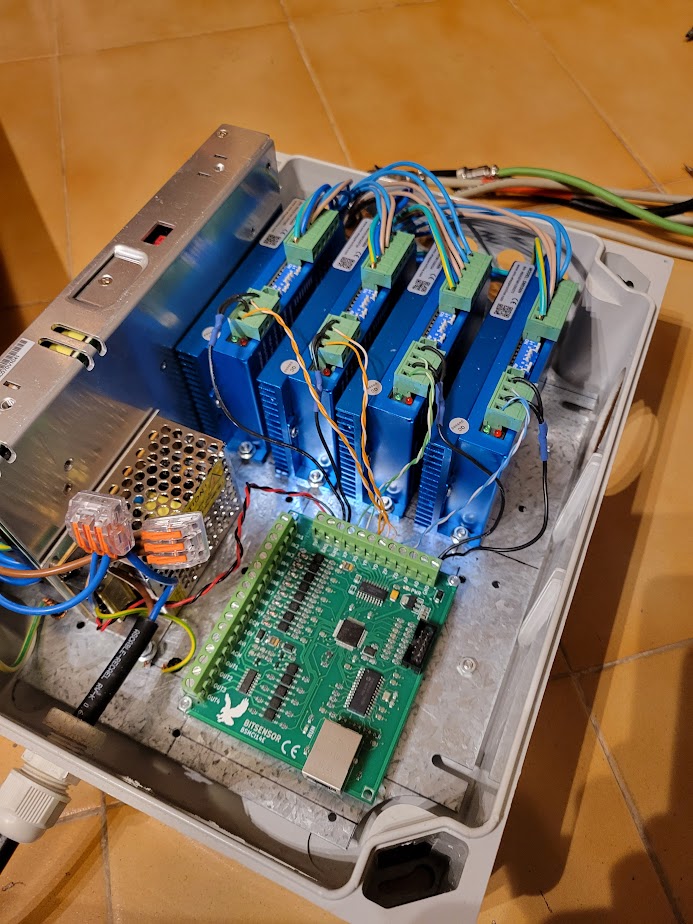
Then I set it up with Mach3. I had originally planned to use LinuxCNC, but there were no drivers for the mysterious green Chinese control board.

THE SHORTCOMINGS
After some testing, I realized my working area was only 40×30 cm – too small for what I had in mind. On top of that, the blue Chinese “Makita” clone spindle had three major flaws:
- No affordable 1/8-inch collet available.
- Extremely noisy, likely due to bad bearings, also a terrible 0.1mm runout.
- It blew air directly onto the workpiece, turning every job into a mess. Machining carbon fiber was out of reach due to the respiratory health hazard.


Here’s a timelapse of the router in action:
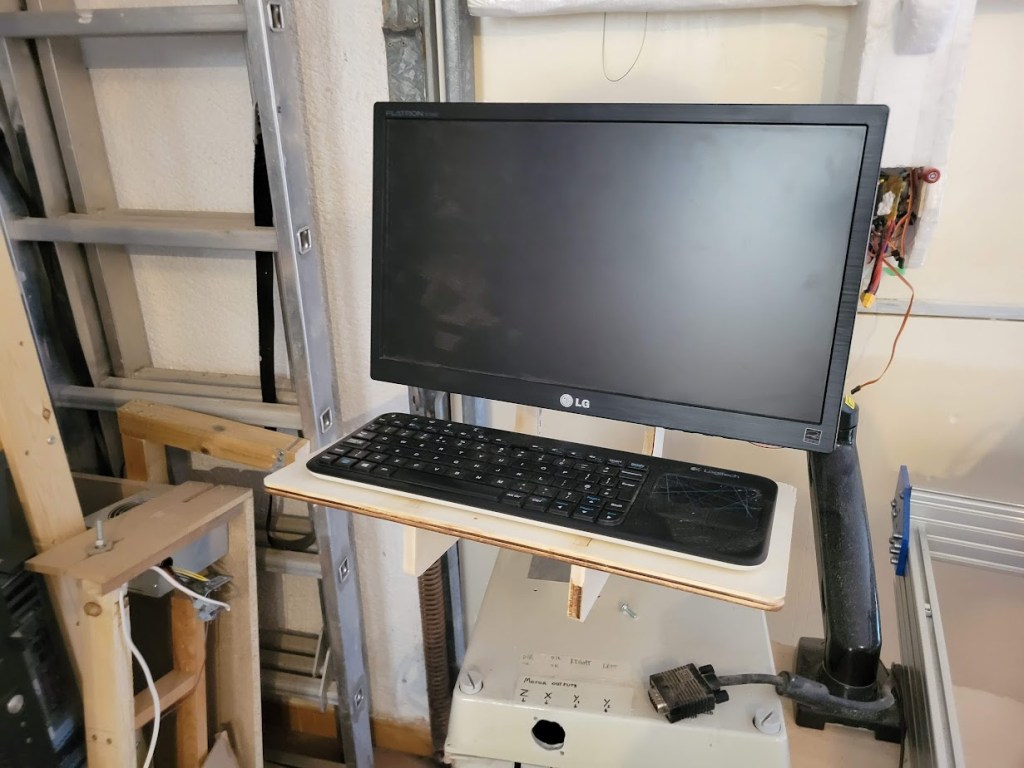
Meanwhile, at the university:
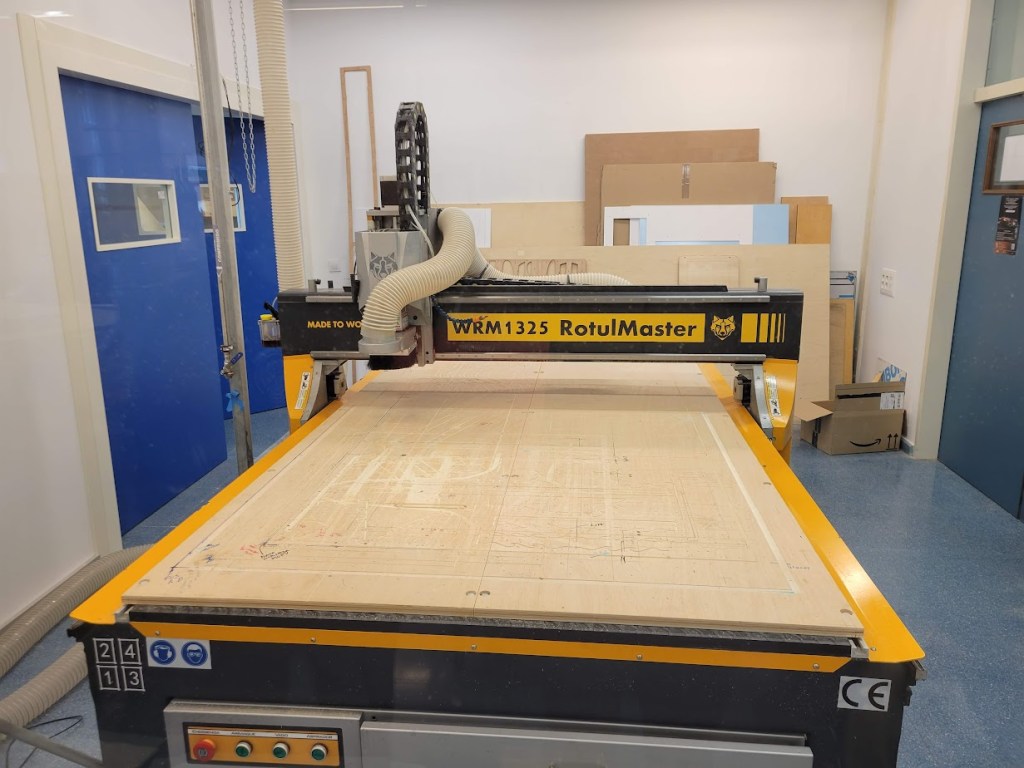
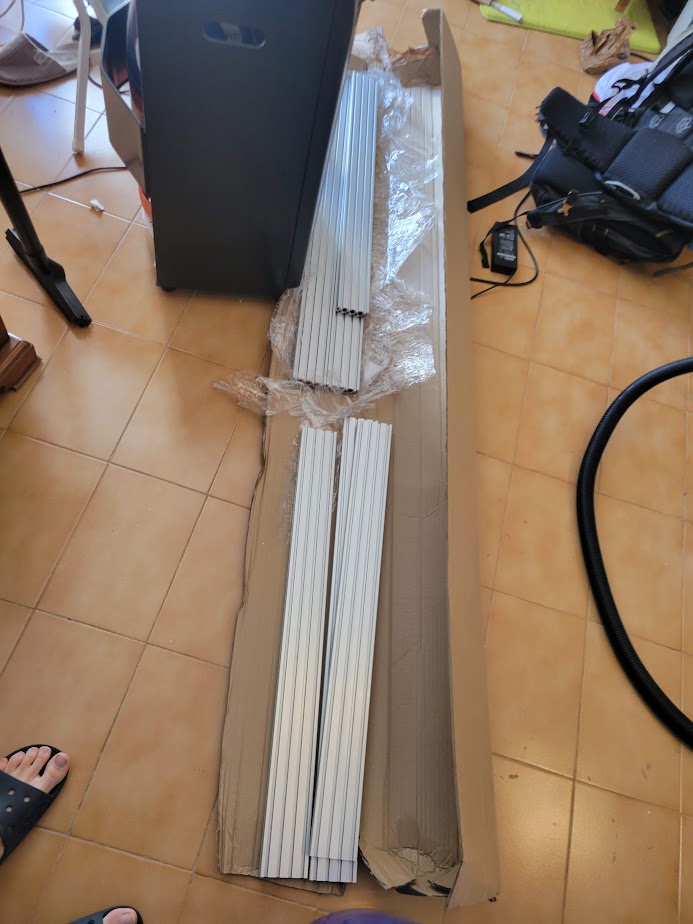
After seeing a massive CNC machine there, I got inspired and ordered about 200 € worth of aluminum extrusions. That’s when the rebuild began.
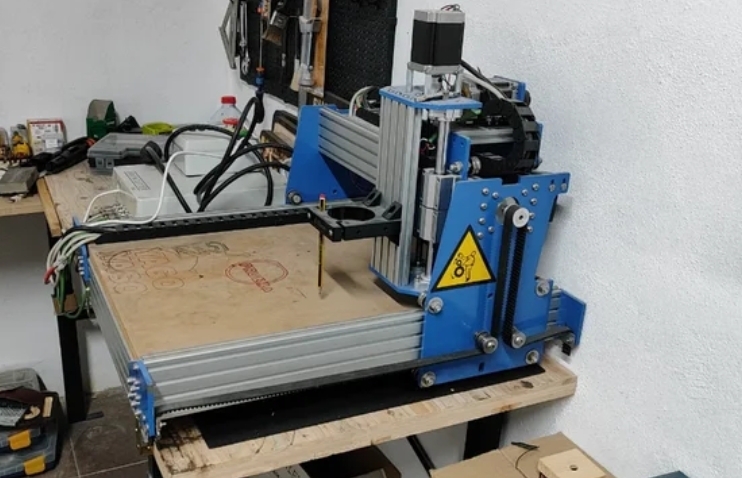
THE REBUILD
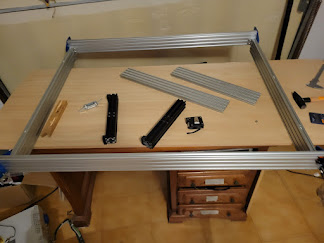
- First, I assembled the base.
2. I replaced the extrusions in the gantry.
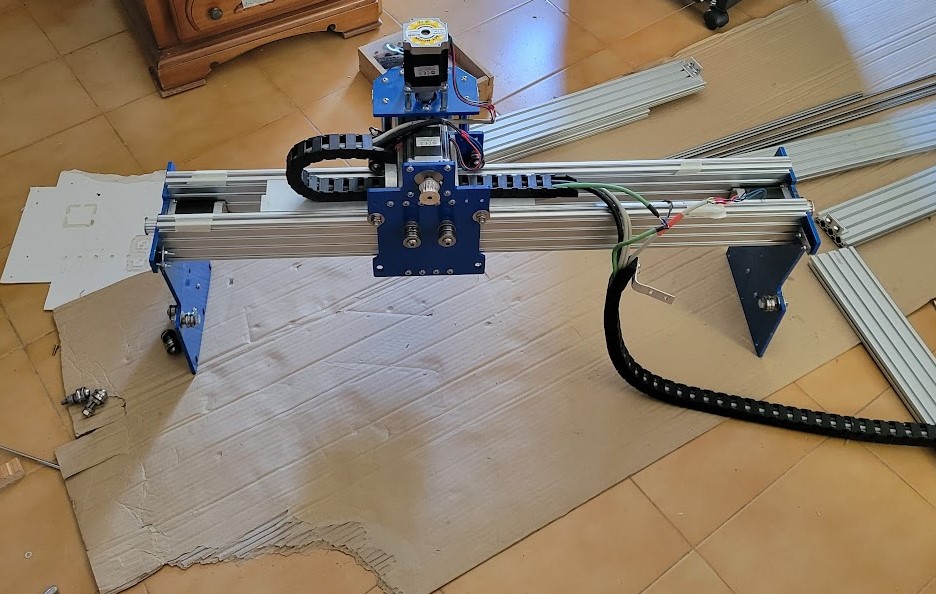
3. I put the gantry on the rails and secured it
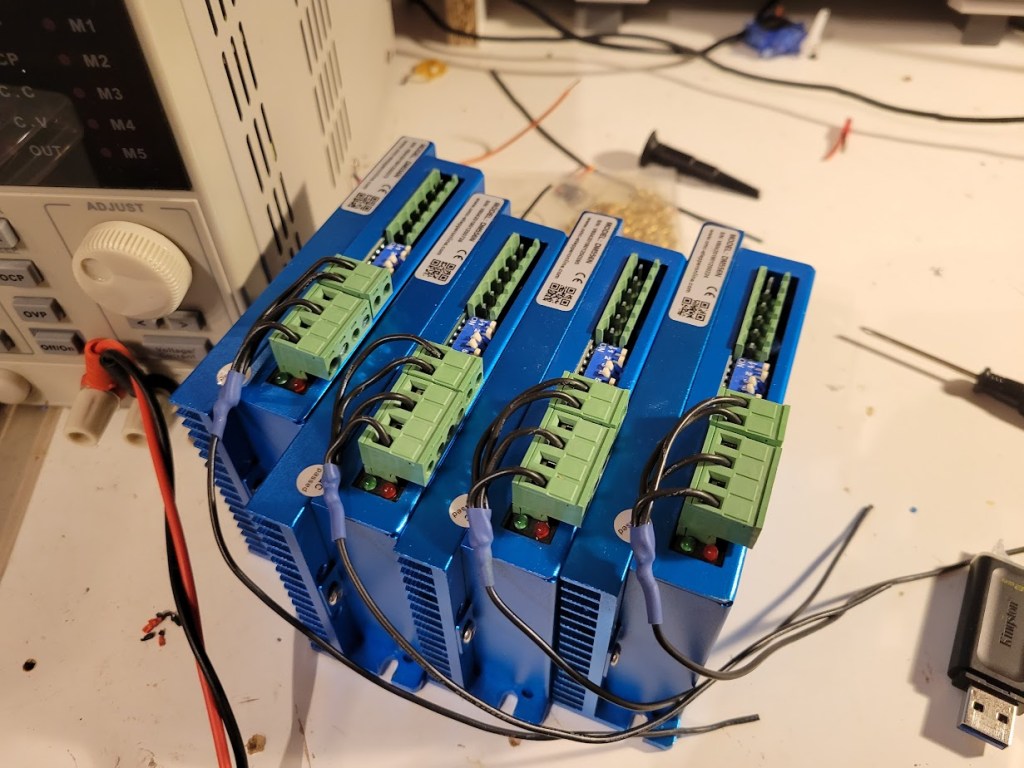
4. Wiring everything up
Wiring was the biggest headache. At first glance, it looks simple—but when you have 64 wires to tin and solder, you quickly change your mind. For the first tests, I just left the wires hanging off the side.
The test cuts impressed me – not because of speed or quality (the Chinese spindle was still holding me back) – but because I no longer had to worry about whether my parts would fit. CAM programming finally felt like freedom.


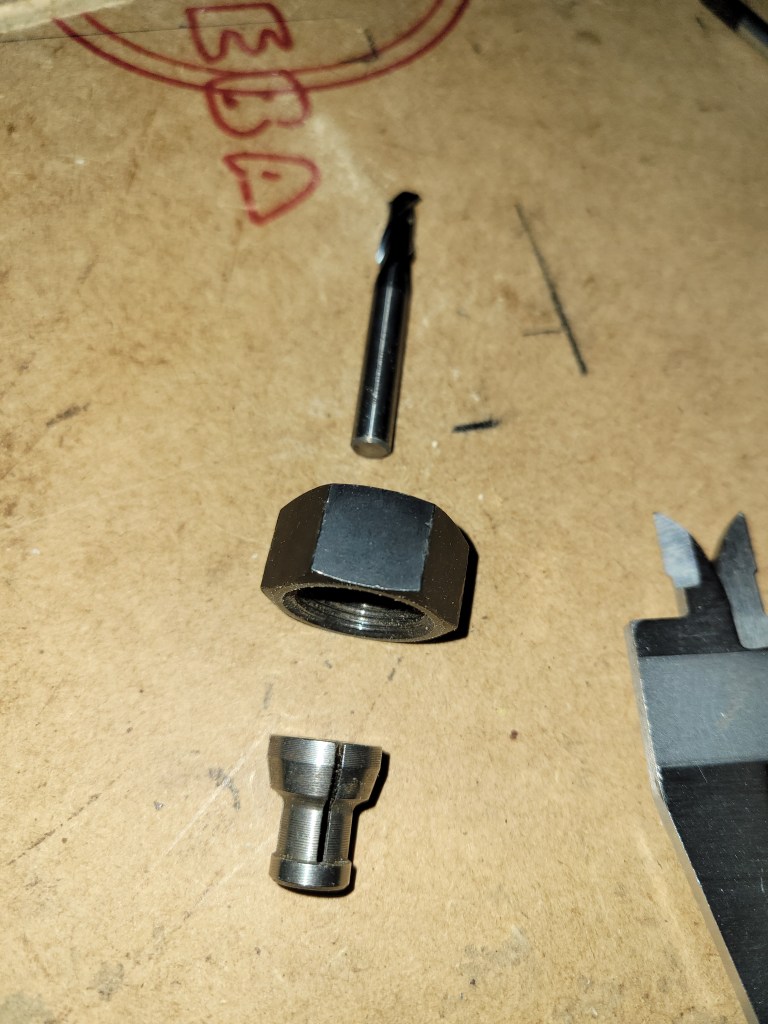
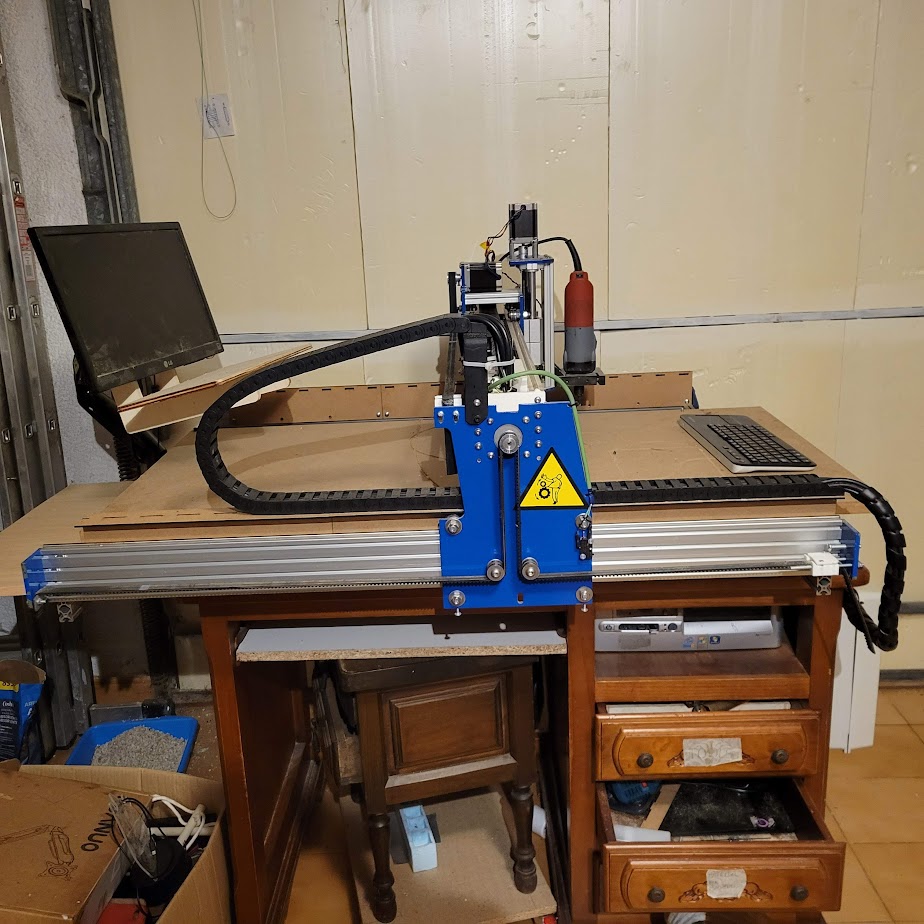
5. Spindle upgrade
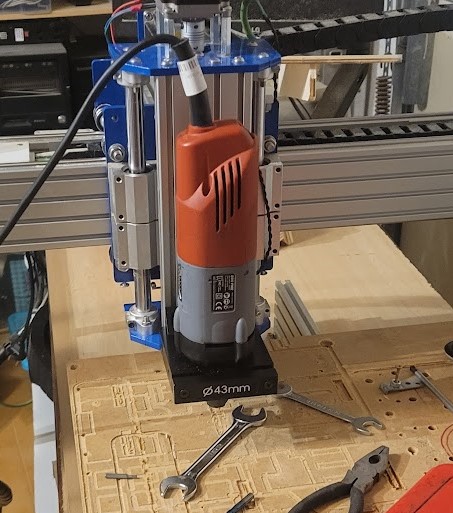
I upgraded to an 800 W Kress spindle, and that German engineering finally brought some dignity to my woodworking. Quiet, precise, and with RPM control – it felt like paradise for just 100 €. Even better, it used standard OZ8 collets, so I could cheaply get any size I needed. What a relief.
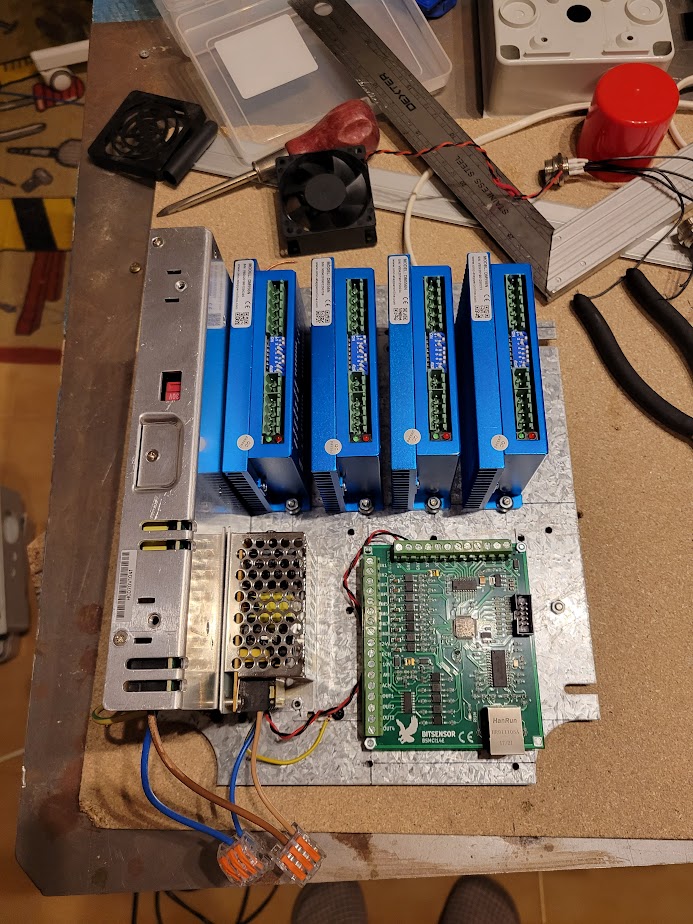
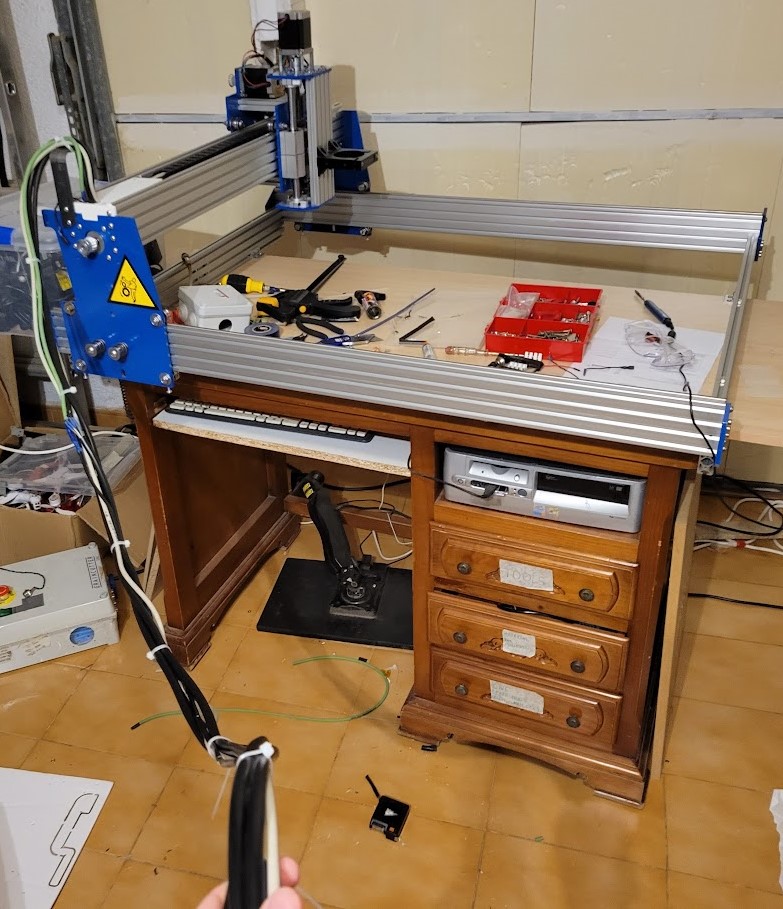
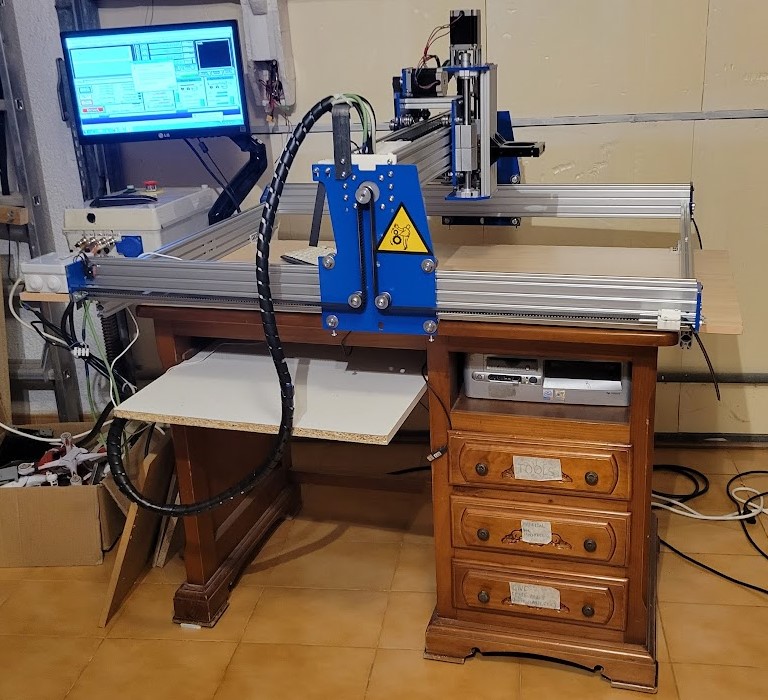
6. Tidying everything up
I added cable guides, installed connectors, mounted the electrical box on the table. At last, the machine was ready to tackle big wooden slabs.


PRACTICAL APPLICATIONS
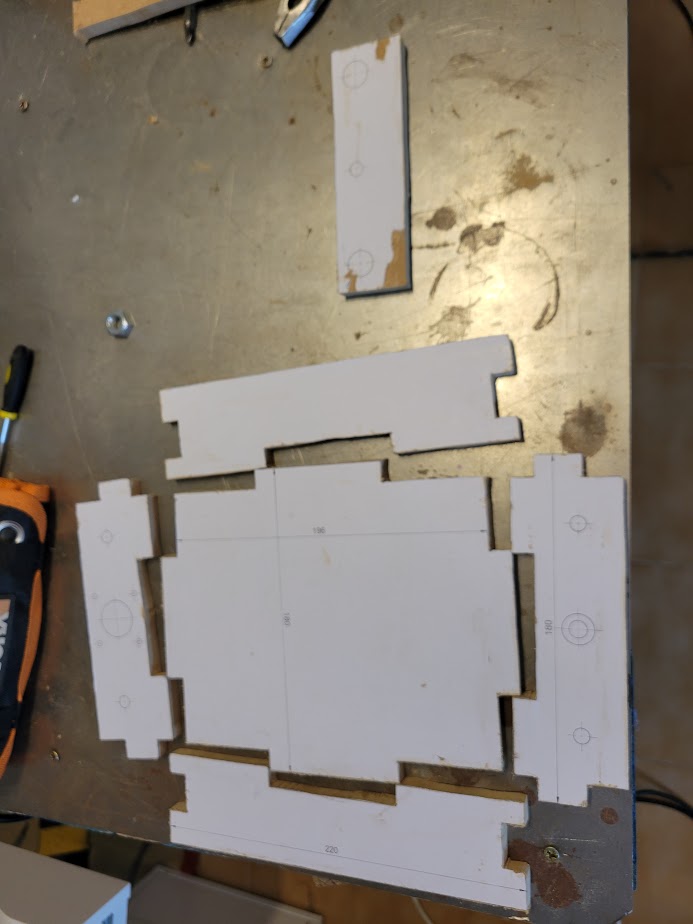
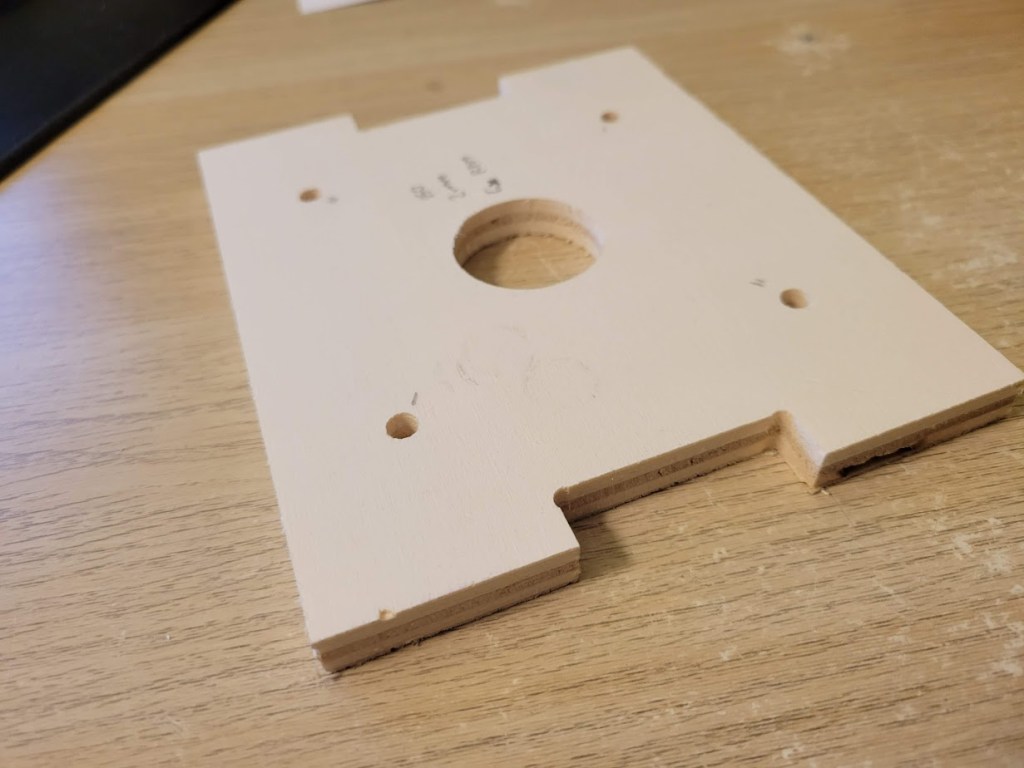
Here’s one of the projects I made with it:
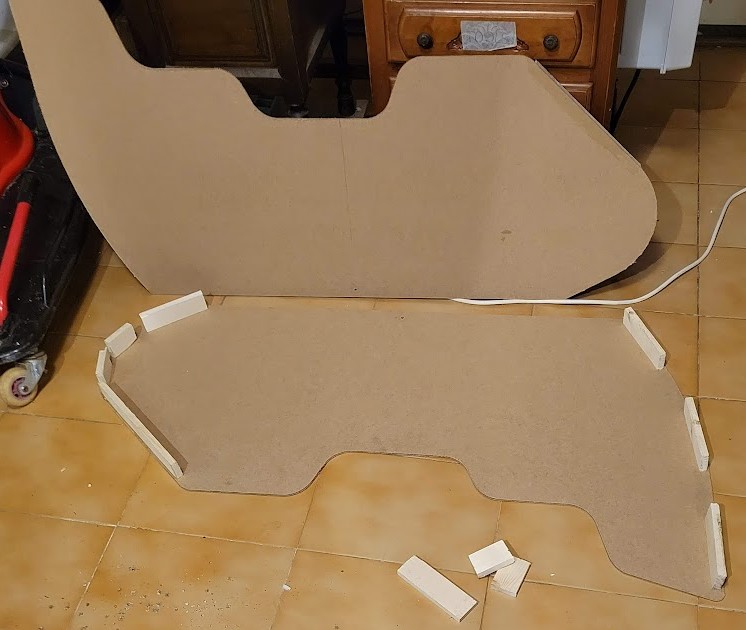
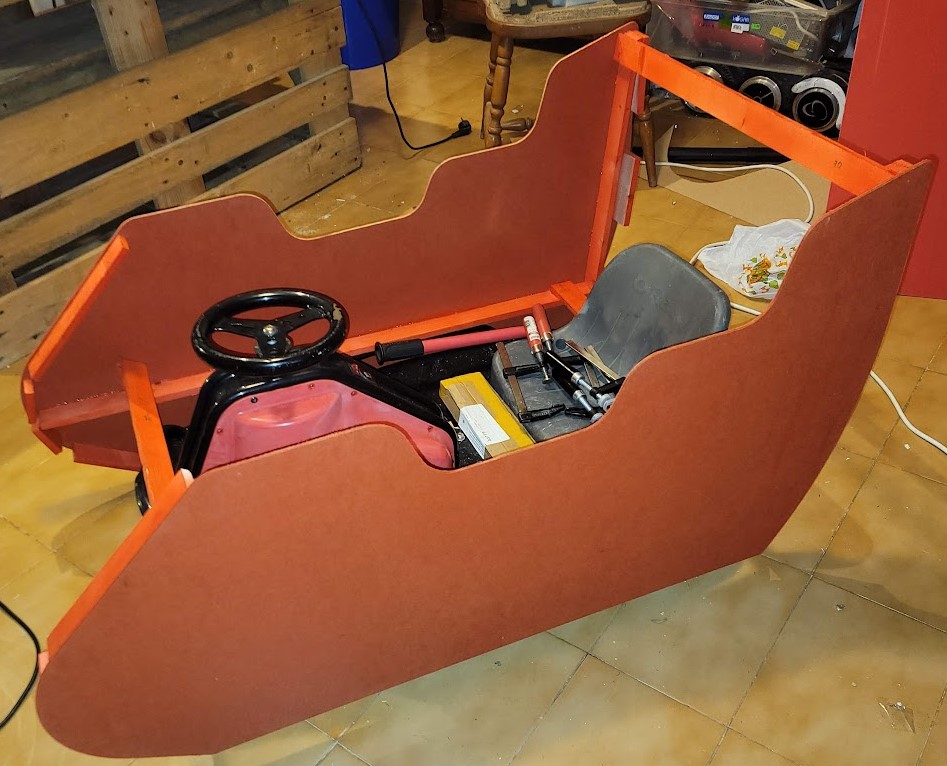
Nothing a jigsaw couldn’t do, but it was incredibly satisfying to sketch in CAD and have the design cut out perfectly.
And here are a couple more videos of the router in action:
All in all, I’m really happy with the machine. Sure, it might be overkill for a garage workshop, but the ability to go from a CAD drawing to a finished part in half an hour makes it absolutely worth it.

Leave a comment